That explanation website is very, very outdated!
Most of this stuff can be done in Makecode with a few button presses, and those instructions on that website were made before you could do that, so here are instructions on how to do it with modern Makecode features!
The only reason I haven’t got my own extensions on the main page is because you need API documentation, which is really, really annoying (in my opinion). Basically, API docs are the explanations that pop up when you left click a block and use the “help” option, which I’m too lazy to make for my own extensions. Anyways, here’s the explanation:
First, you must “create a release”. This is a normal step when creating any extension, and is pretty easy in makecode.
First, you must have your GitHub account linked to your Makecode account, which I forget how to do. I tried signing out of Makecode and it was still linked to my GitHub, even signed out, and I can’t remember how I linked it the first time, sorry. Maybe there will be a popup while you follow these steps? Who knows.
Publishing your extension:
Once you have your extension all made, preferably in its own .ts file and with its own namespace, you can create a GitHub repo for your project by clicking this button:

Then you can name your extension and add a short description:

After that, your repo will be created and you’ll see this icon at the bottom of your project next to the name:

Click on that and you’ll be brought to this menu page, where you can click the “Create Release” button:

Use the default option of “0.0.1” and click “Create Release”:

Once that’s done, find the “Add License” button:

Clicking that will bring you to the GitHub repo, where you can review and add the MIT License:
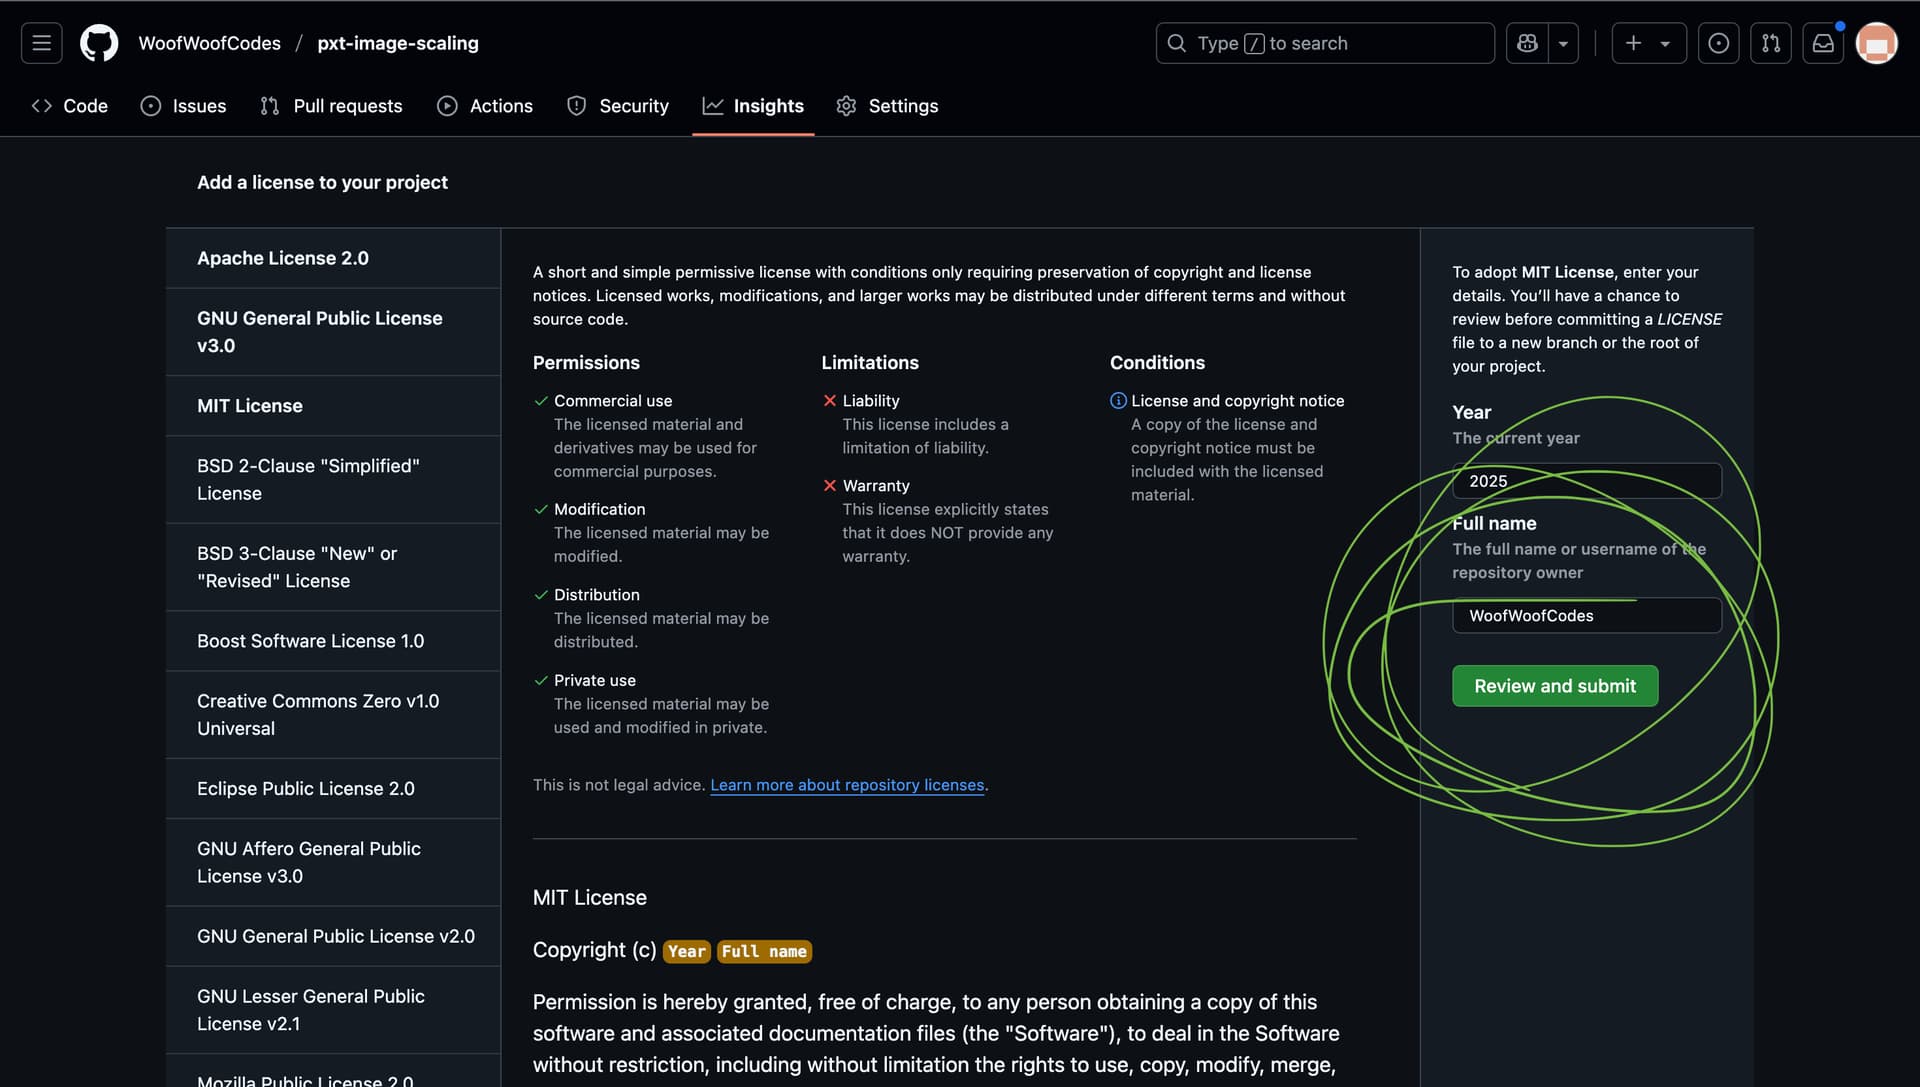
And then commit your changes:

After that you should click the “pull changes” button so your makecode project is up to date with your GitHub Repo:

If you look at your repo, you’ll see that a test.ts file has been automatically created for you, so you don’t need to worry about that. You must remember that every time you make changes to your extension, you must create a new release, or the changes won’t apply to the version that Makecode downloads when you add the extension to a project. Preferably, follow those guidelines about which number to increase with each release. It should be in the format Major Release : Minor Release : Patch.
One important thing: if you have tilemap.ts files and such that you don’t want downloaded when someone adds your extension (such tilemap files will actually create errors if they are downloaded!), you can prevent them from downloading by clicking on the pxt.json file, clicking “edit settings as text”, and either deleting those files from that “files list” or moving all those files into the “test files” section. That way, they will not break peoples’ projects when they add your extension!!


remember to create a new release after making all these changes!
This is where you would stop if you just want a normal extension, but let’s keep going to fill out the rest of the steps needed to get your extension approved and in the main extensions list!
Now, you also need to add an image in an “icon.png” file to your repo. I am pretty sure you can just take a screenshot of whatever you want and add it to your GitHub repo. Looking at those instructions, it says it should be 300x200 pixels, and less than 100kb, but looking at some other icons, like the one from riknoll/arcade-tile-util Richard obviously didn’t follow this rule exactly, so it’s probably fine if you don’t either (Yes, Riknoll is Richard’s GitHub account!). Just try to make your image about a 3:2 ratio in size and less than 100kb. For my example, I’ll be adding this screenshot I made of me using my extension, which is probably a good way to do it:

I actually had no idea how to do this before looking into it!
First I took the screenshot. I looked at the file info to make sure it was under 100kb, and it was only 46kb, perfect!
Then I made sure to rename the screenshot file to “icon.png”.
I went onto my github repo and found the “Add File” button:

I clicked “upload file” and simply added the “icon.png” file to my repo!
The last thing you have to do is create API documentation in your READ ME file. I don’t enjoy even the idea of doing this. It sounds boring and it’s really way too much effort, considering I don’t really care about having my extensions on the main extensions list. If you want a good example for how to do API docs, you can once again look at riknoll/arcade-tile-util. If you look into the READ ME file, you’ll see how and… wait a minute… there’s no API docs here! It seems that some people (Mods obviously) can just add their extensions to the list without getting them approved first, so they don’t have to make API docs! (@Richard how could you!)
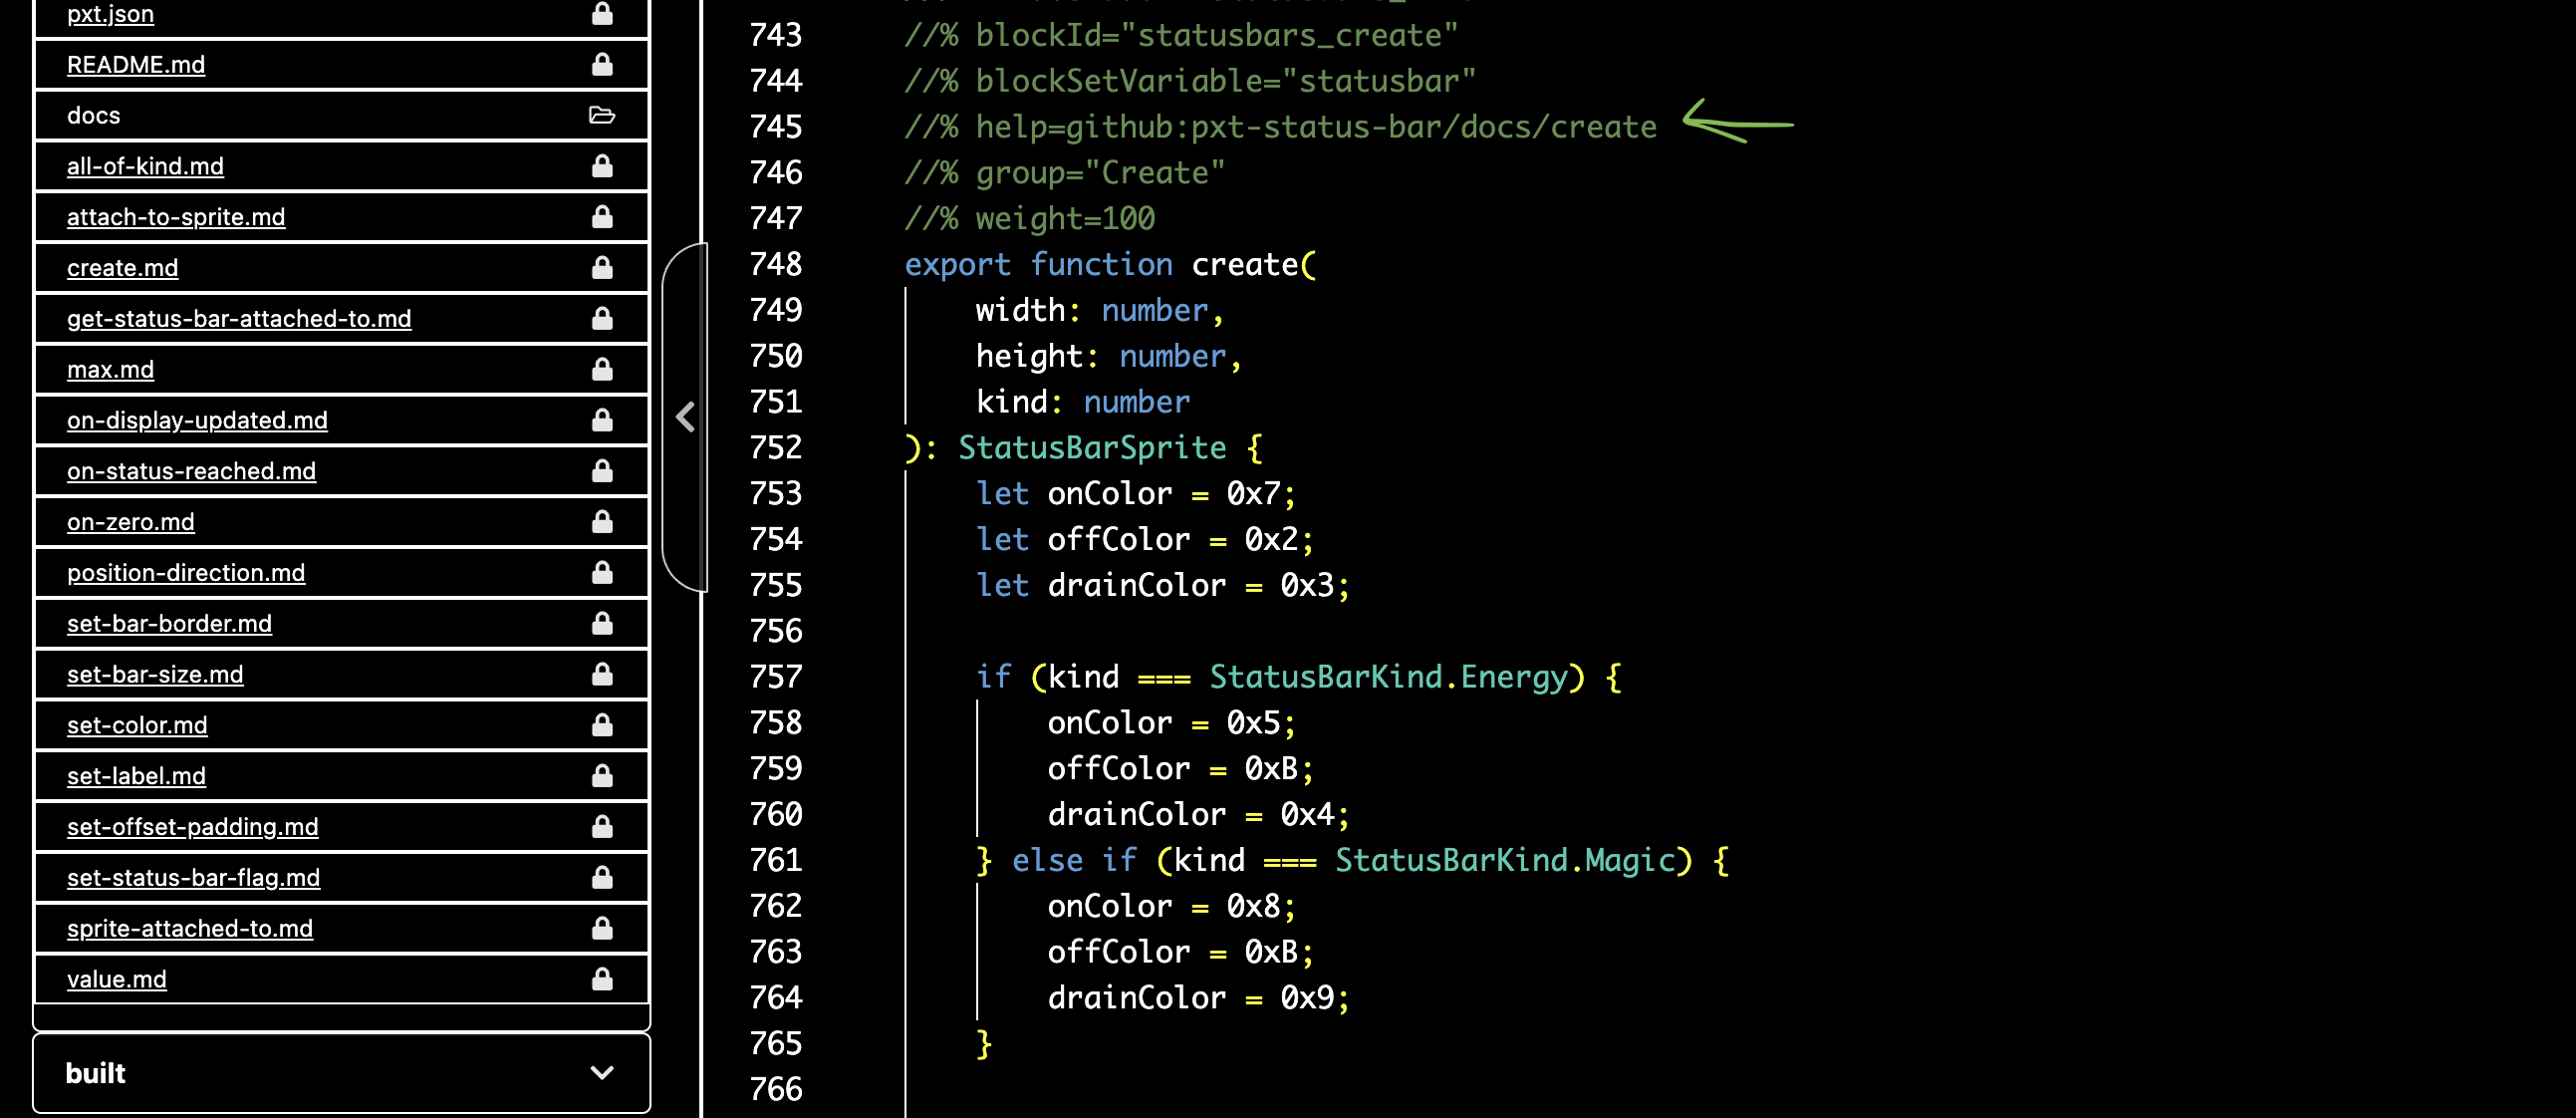
Anyways, if you want to see some actual API docs, you can look at jwunderl/pxt-status-bar which has really extensive documentation that’s amazing and wonderful! (Thanks @jwunderl!)
I guess I should also point out these block definition lines that point to the docs and make that help button work correctly:
Then the last thing is to return here and post the link to your GitHub repo so that someone can help you make a pull request (After creating yet another release to make all these changes apply!). This is basically a formal request to change a bit of code in someone else’s github repo. In this case, you (or someone else) will be making a request to add your extension to the list of “approved repos” in this file of the pxt-arcade repo:
(At least I’m fairly certain this is what you do. I’ve never done it before!)
This is a super long explanation, so I’ll probably link to it whenever someone else wants to know how to publish their extension. This is probably the longest forum post I’ve ever made!