Hey folks!
It’s time for the exciting conclusion in my series on hitboxes, overlaps, and collisions! Before continuing, you may want to check out part 1 and part 2 where I explain how overlaps and collisions work in the arcade physics engine.
Today, we’re going to be looking at some code examples you can use in your games that let you control the overlaps and collisions of sprites!
Sprite Flags
First, let’s take a look at a block that doesn’t get as much love as it deserves! The humble sprite flag block:

This block lets you customize how a sprite behaves by turning features on and off. In particular, I want to highlight a few flags that I’ll be referencing throughout this post:
ghost through spritesghost through tilesghost through wallsghost
These flags are used for enabling and disabling all of the different overlap and collision checks that the physics engine performs on sprites each frame. If you don’t know what any of them mean, click on the sections below to learn what they do and which blocks they affect!
Ghost through sprites
When this flag is on, a sprite will not trigger any overlap events. That’s this event here:

It also makes it so that the manual overlap check block will always return false, even if the sprites are overlapping:

We won’t be mentioning this block much in the examples below, but it’s pretty useful! Try using it to make sprites temporarily invincible or to improve your game performance when you have hundreds of sprites!
Ghost through tiles
When this flag is on, a sprite will not trigger any tile overlap events. That’s this block:

Ghost through walls
When this flag is on, a sprite will ignore all wall collisions! This flag is super useful for sprites like menus and HUD elements that you don’t actually want to be boxed in by your tilemap.
These two blocks also won’t do anything for sprites that have this flag enabled:
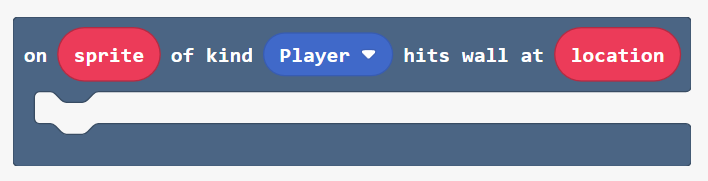

Finally, we have the ghost flag! The ghost flag is just a nifty way of turning all of these ghost flags on or off at the same time. Very useful for sprites that are just for decoration!
Example 1: Hitbox Sprites
Very often in arcade, you’re going to want to animate a sprite that moves around and each frame of that animation is not going to have the exact same size. This is true for a lot of animations in the gallery, so let’s take a look at one:

Remember, the hitbox of a sprite is drawn around the non-transparent pixels. In the above animation, the hitbox is marked in red and you can see that in frames 1, 2, and 6 the hitbox has different dimensions than the other 3.
If the hitbox is constantly changing, you can get some glitchy effects when colliding with walls in a tilemap. A lot of times this will look like the sprite is “glitching out” as the animation plays, like in the example below:

If you look at the sprite on the left, the animation looks glitchy because of the changing hitbox size. The sprite on the right looks much smoother.
To fix this issue, the easiest way is actually to split your sprite in two!
We’re going to create two sprites:
- A hitbox sprite - this is the sprite that we will be using for all of our overlaps, physics, and controller code
- An animation sprite - this is a sprite that we will only use for playing animations. It’s only for decoration, we’ll use an
on game updateblock to move it on top of the hitbox every frame.
The code looks something like this:

Note that we have set the invisible flag on the hitbox sprite so that the player doesn’t see it. The animation sprite has the ghost flag set so that it ignores walls and other events.
The on game update block in the above code is used to make sure that the animation sprite is always on top of the hitbox sprite.
Try the code out here: