Hey folks!
This post is part 2 in a series about hitboxes, overlaps, and collisions; make sure you check out part 1 here!
Originally this was going to be a 2 part series and this post was going to talk about animating sprites, but as I was starting to write it out I realized that there was another important subject that we’d need to go over first. So now it’s a 3 part series, and part 3 will be coming out tomorrow!
This time, we’re going to be talking about wall collisions and how they work.
Wall collisions
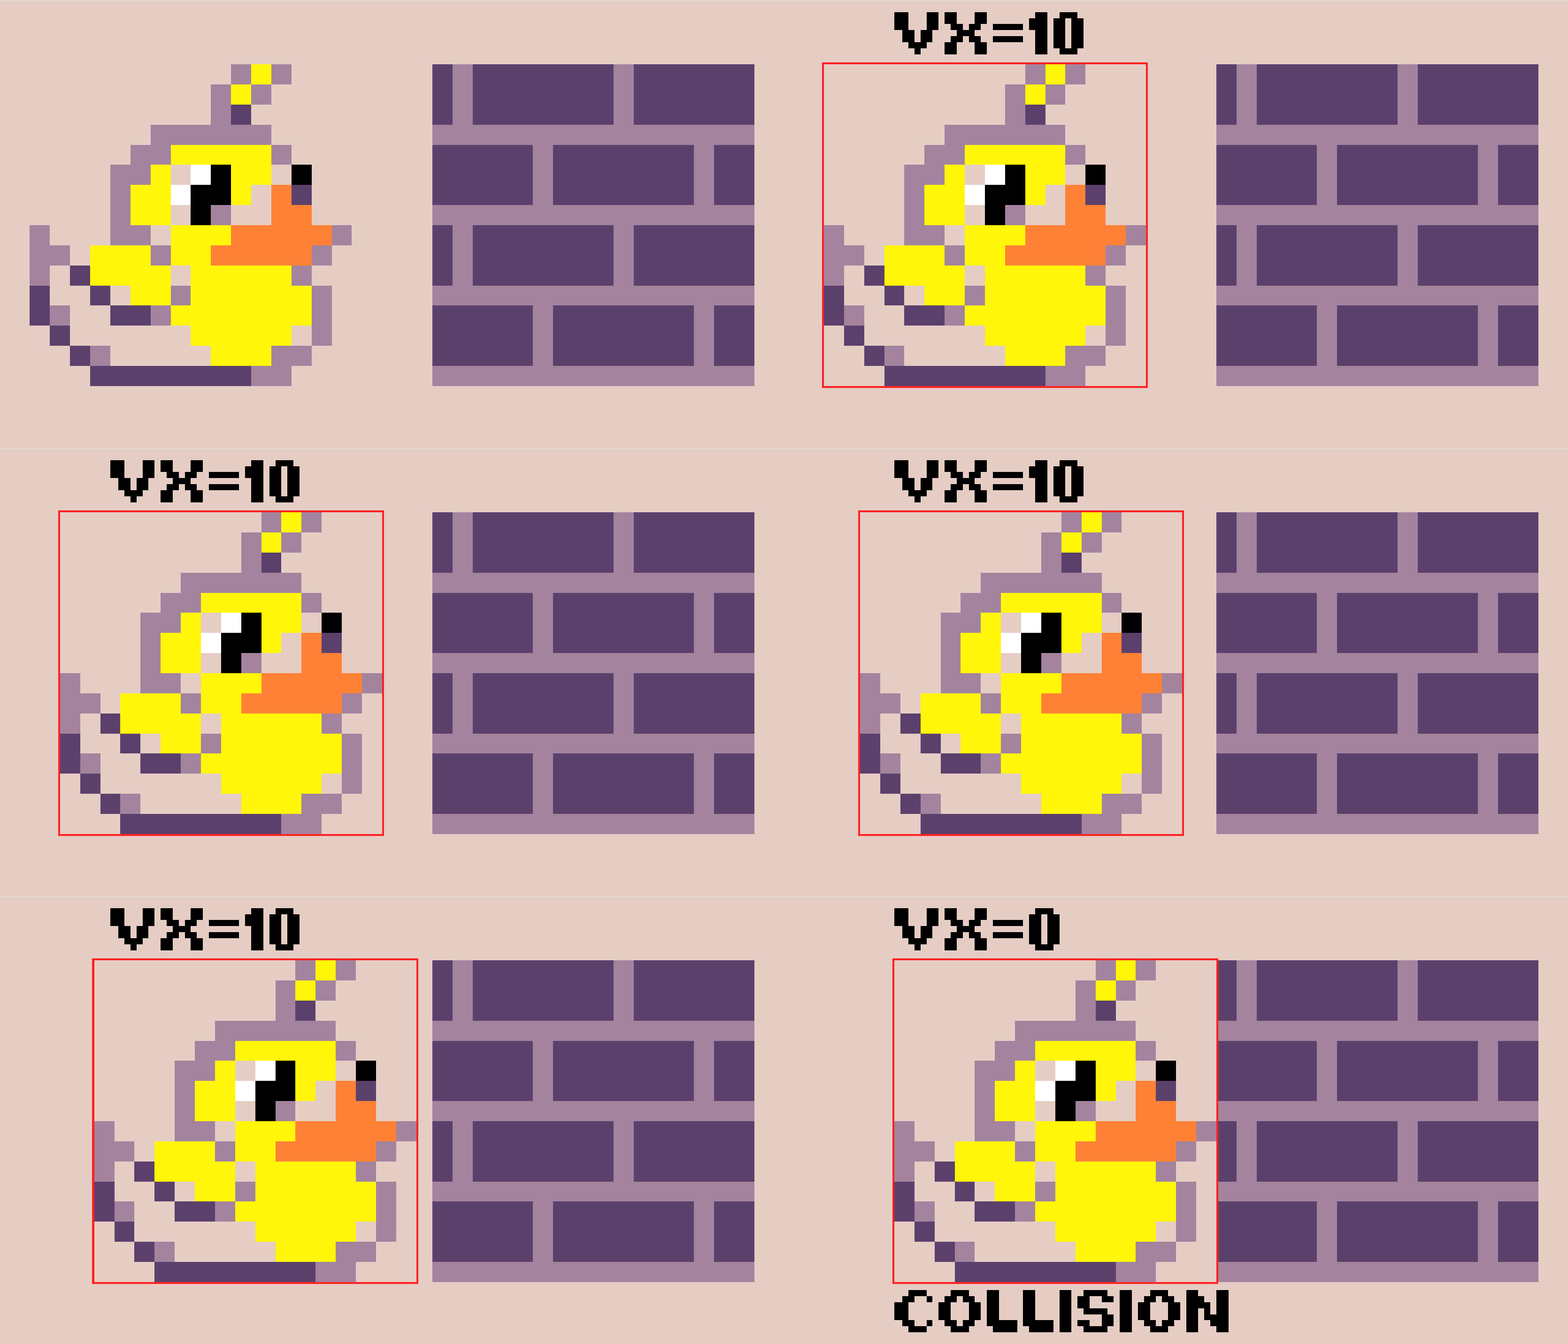
Wall collisions are what happens when a sprite collides with a tile in a tilemap that is marked as a wall. When a collision occurs, the physics engine will zero out the velocity of the sprite and prevent it from moving into the wall tile:
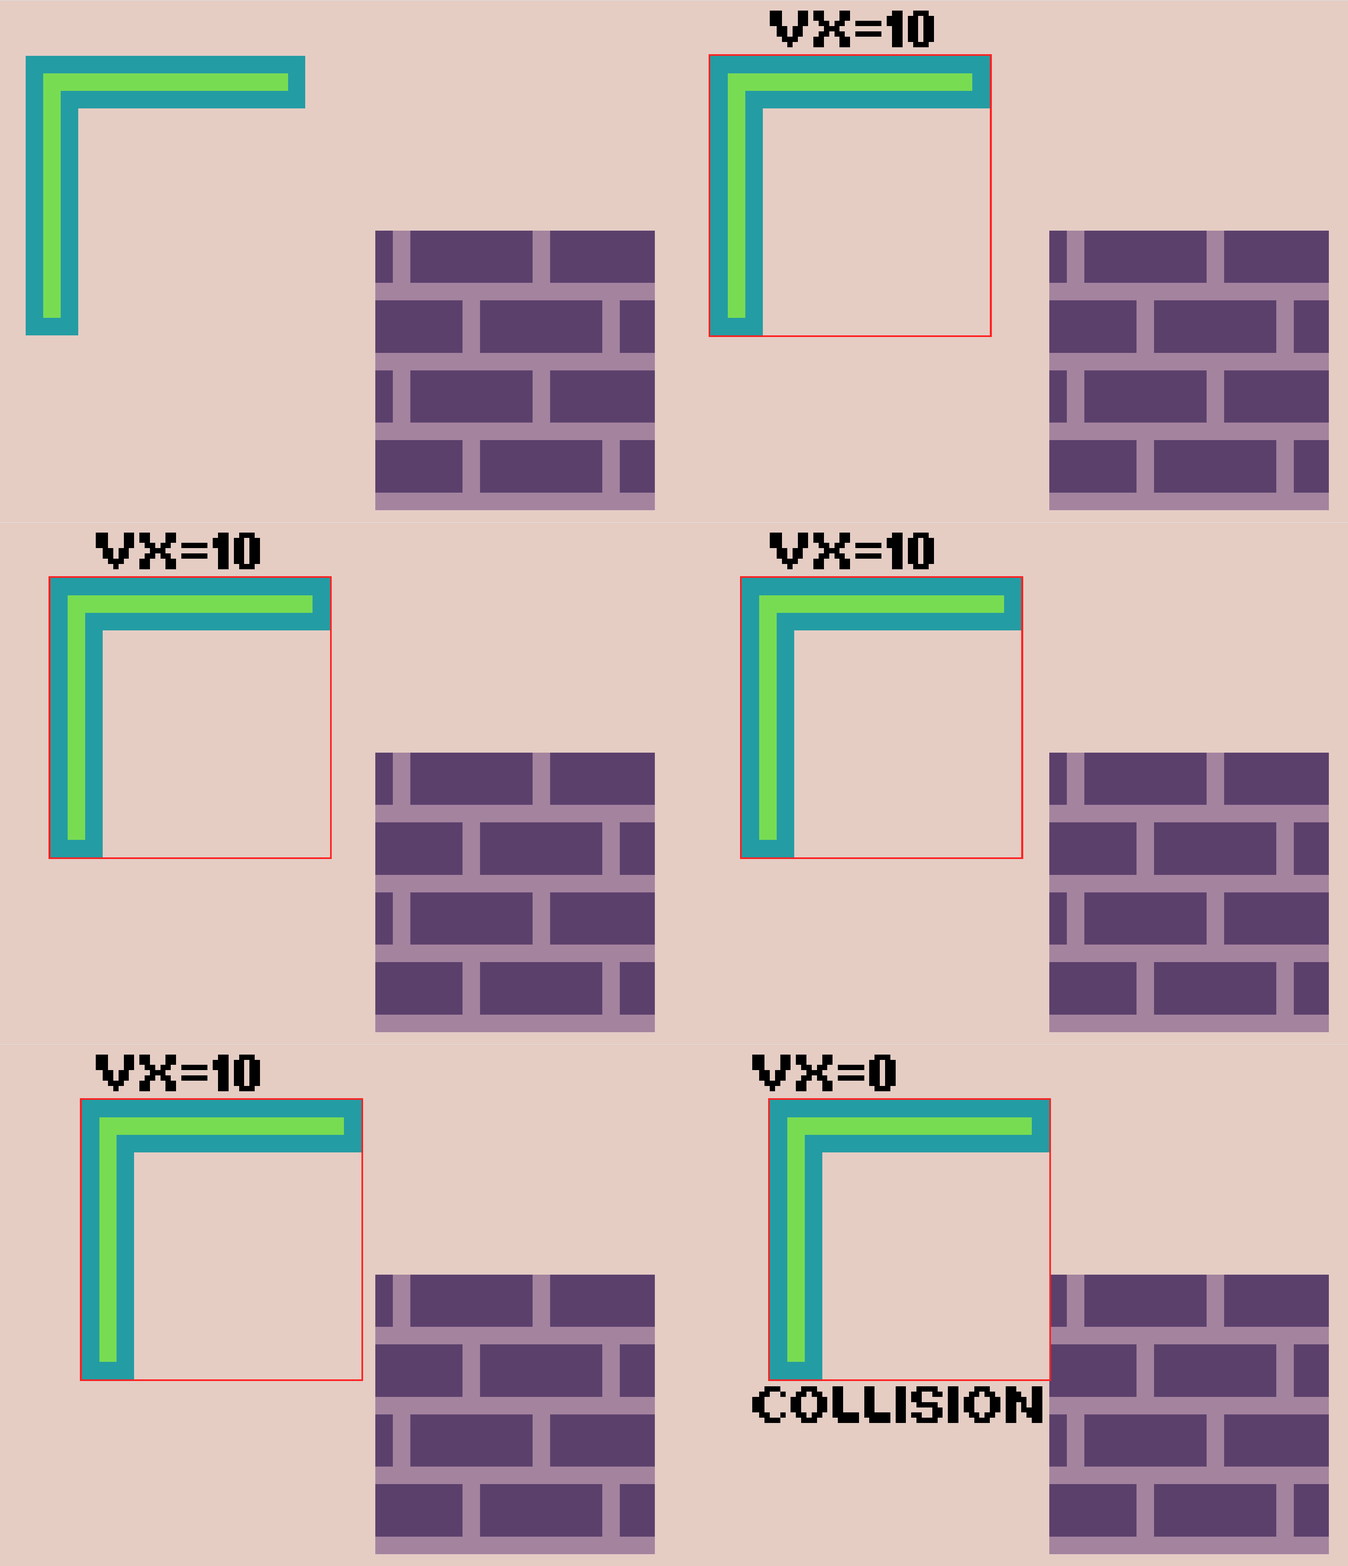
As we learned in part 1 of this series, the physics engine use the hitbox of the sprite when checking to see if a collision has occurred. That means that if your sprite has transparent pixels at the edge of its hitbox, it will still be stopped from moving into the wall even if it doesn’t look like it should:
Clipping
The above examples show what happens when a sprite that is fully outside of a wall collides with a wall. However, what happens if the sprite is spawned within a wall? The answer is called clipping.
Whenever a sprite is forced to overlap with a wall, it goes into a state called clipping. A sprite that is clipping will ignore all wall collisions until it is no longer overlapping a wall.
One of the most common places I see clipping come up is in platformers. If you’ve ever seen a character suddenly fall through the world, that’s usually because it started clipping into a wall. For example:
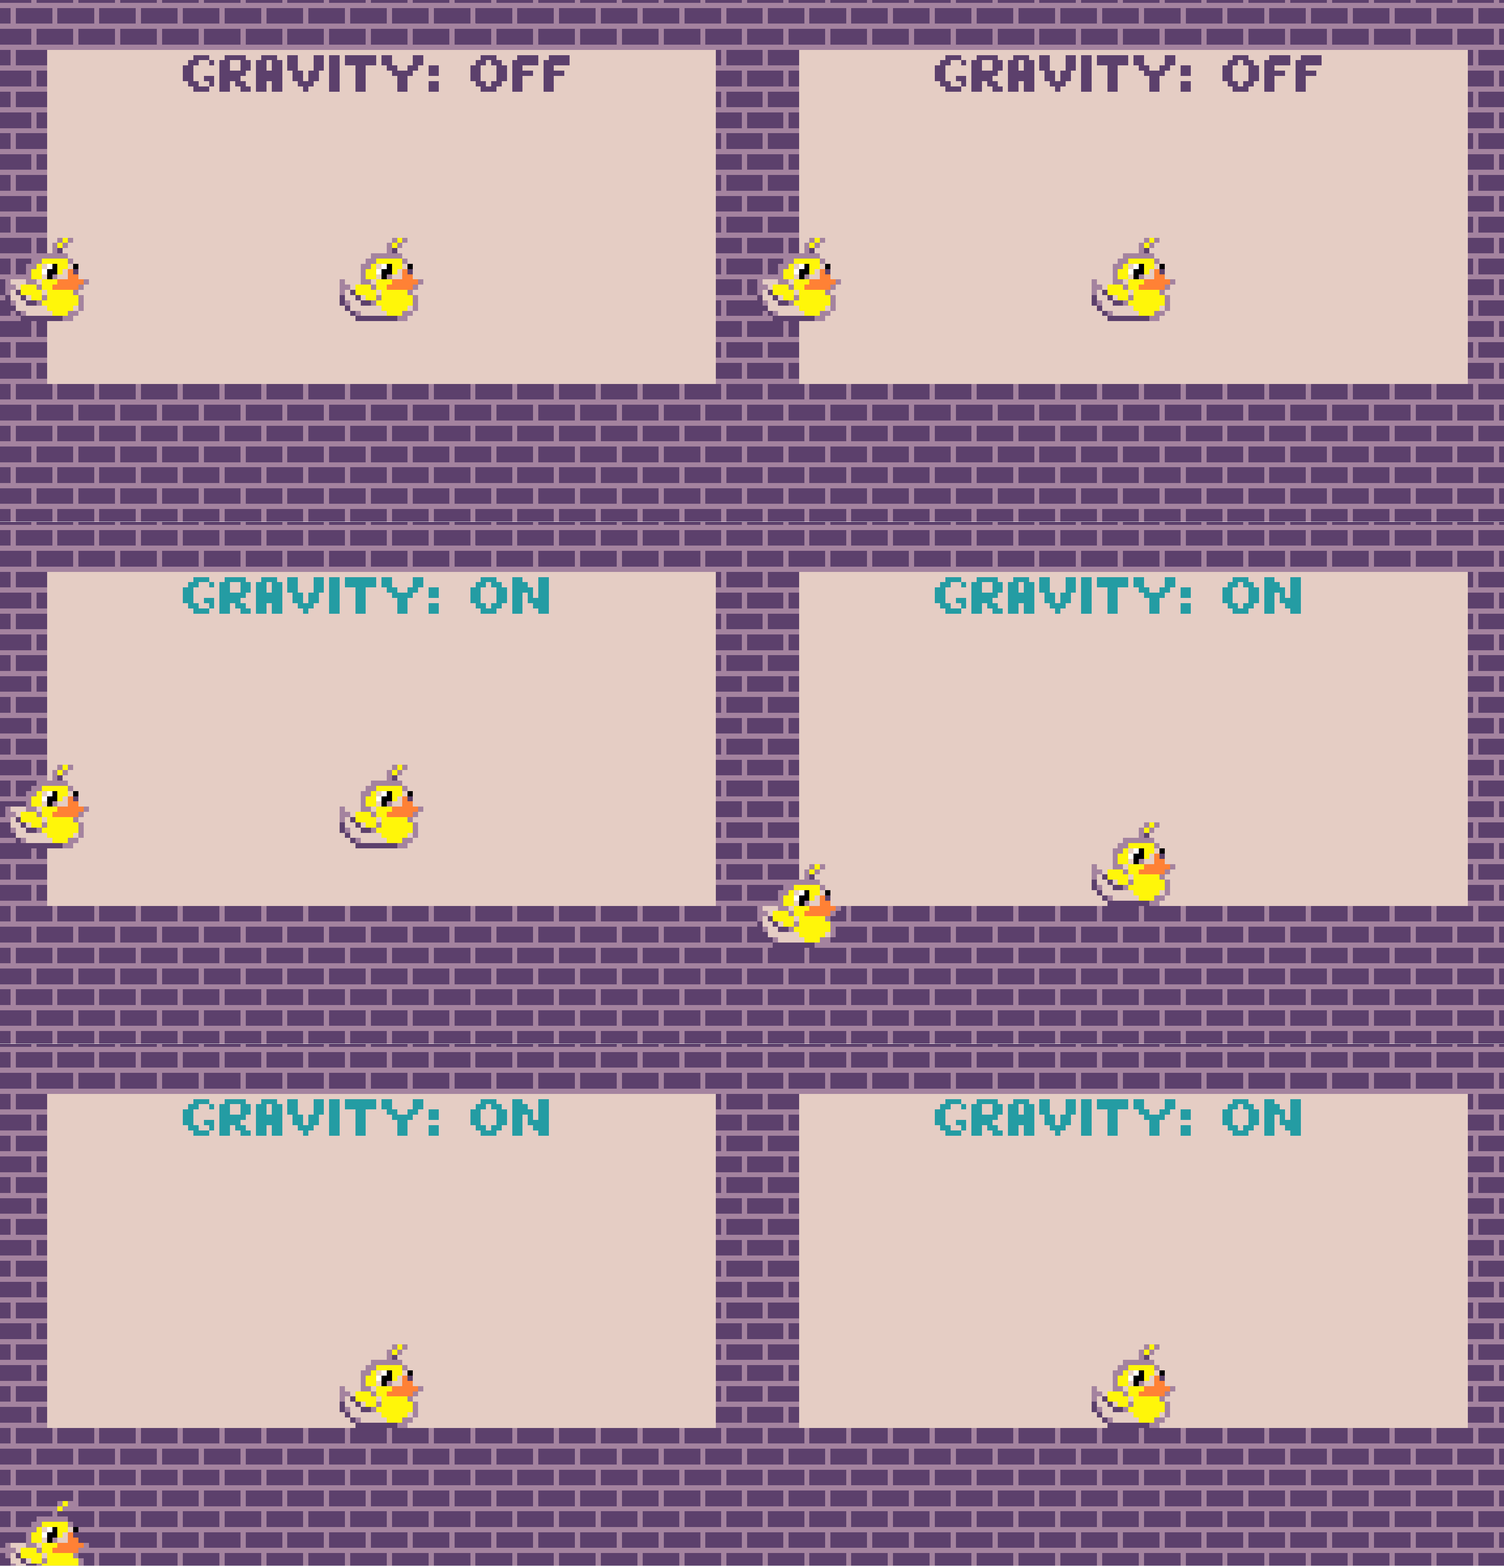
The sprite on the left is spawned inside the wall so the physics engine marks it as clipping. When the gravity is turned on, it ignores all the wall collisions and falls down through the floor.
Causes of clipping
So how does clipping happen? Well, it usually happens when you manually change the position of a sprite by setting it’s x or y properties so that it’s overlapping with a wall.
For example, let’s say you have a platformer with a dash button that moves your sprite to the right by 20 pixels every time you press it:
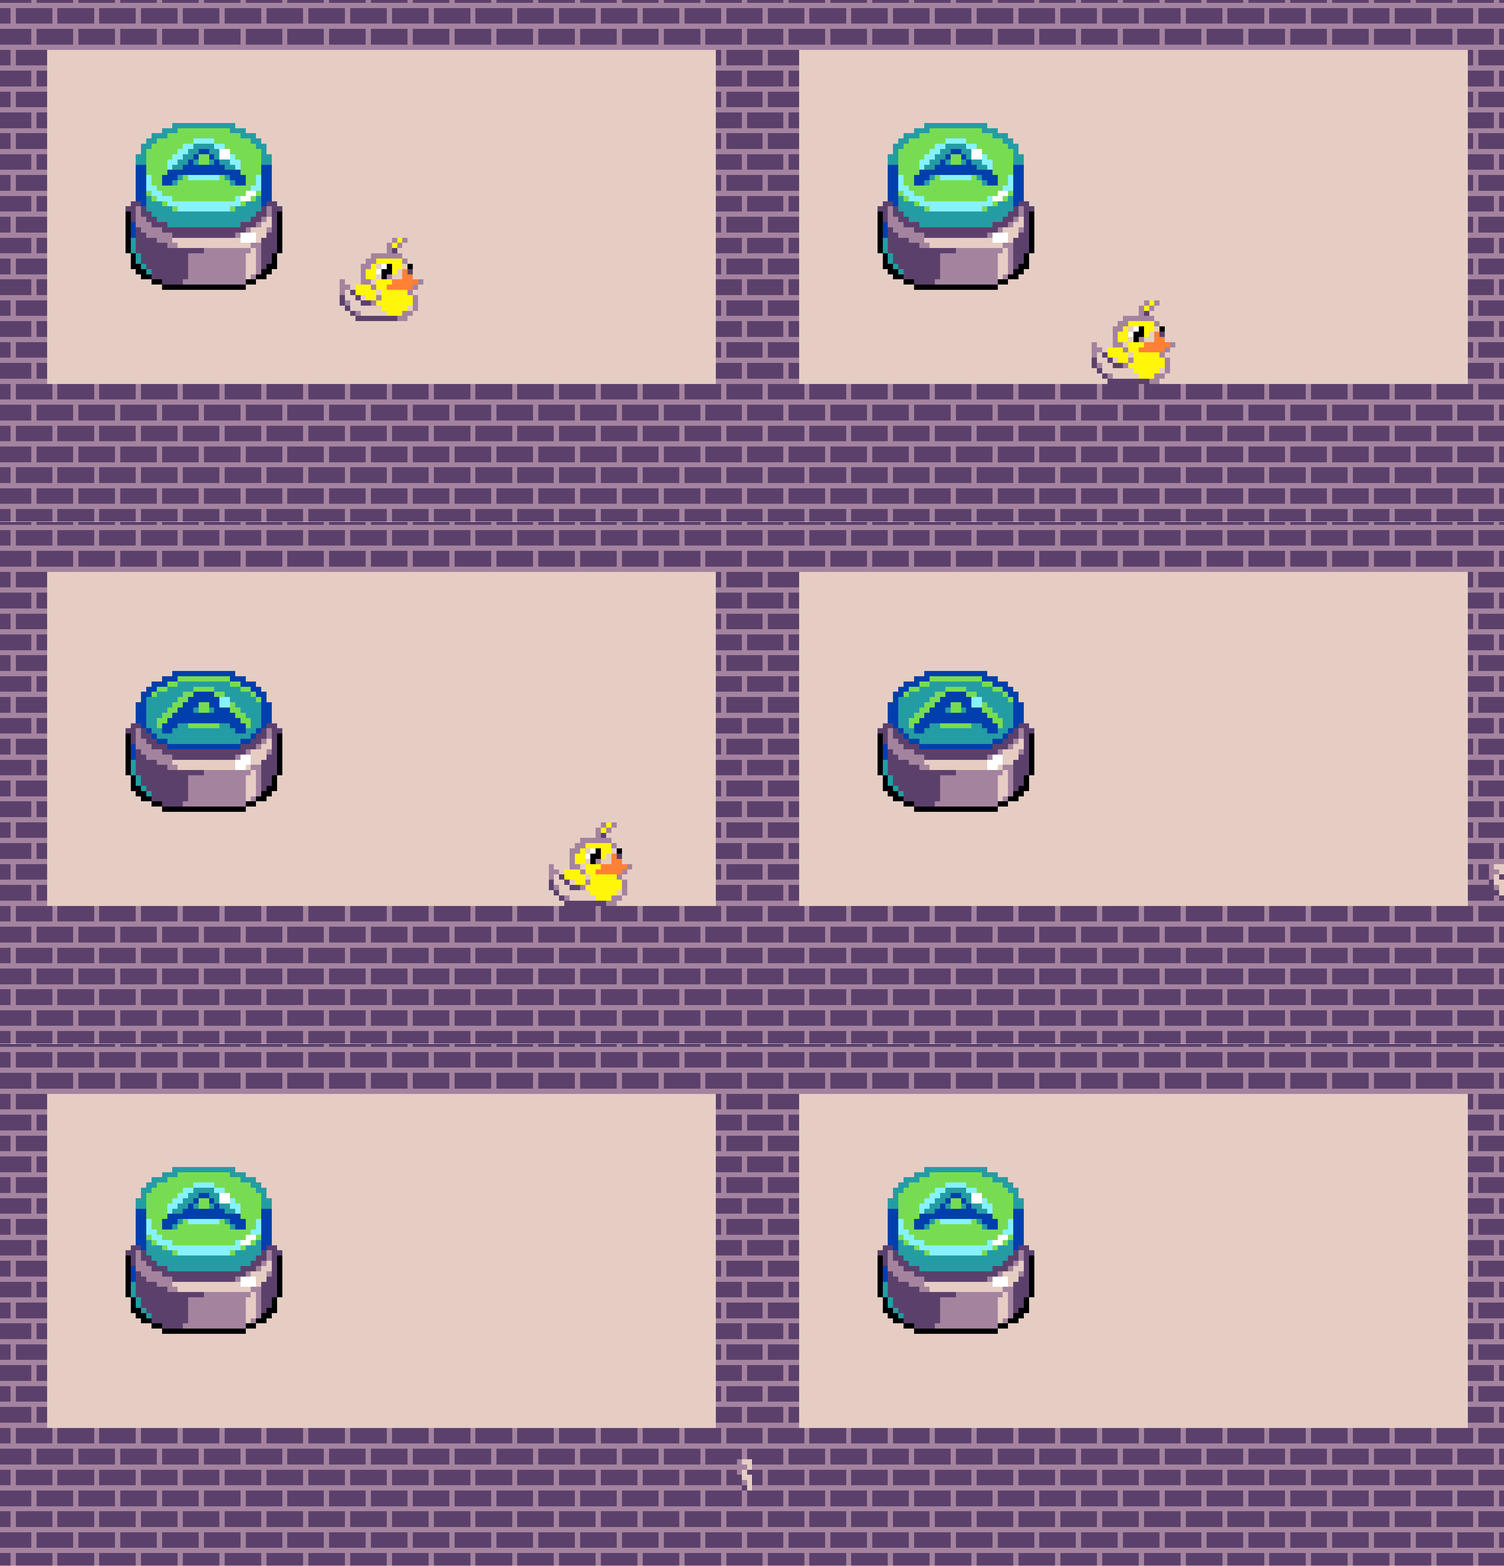
As soon as the sprite moves into the wall, it clips through the floor.
Manually changing the x/y isn’t the only way to teleport a sprite, you can also use other blocks like these two in the scene category:

Whenever you use either of the “place on top of tile” blocks, make sure that the sprite you’re moving isn’t bigger than the tile it’s moving onto. If it is, it might end up clipping into a neighboring wall.

Clipping resolution
When a sprite starts clipping, the physics engine will try to bump the sprite back into a valid location if it isn’t overlapping too far into a wall. It does this in one of two ways:
- If the sprite is teleporting 4 pixels or less in the x or y direction, it will prevent the sprite from moving into the wall
- If the sprite is teleporting more than 4 pixels, it will bump the sprite out of the wall if it is overlapping by less than 1 pixel
Let’s take our dashing example above and change it so that the sprite only moves 4 pixels at a time instead of 20:
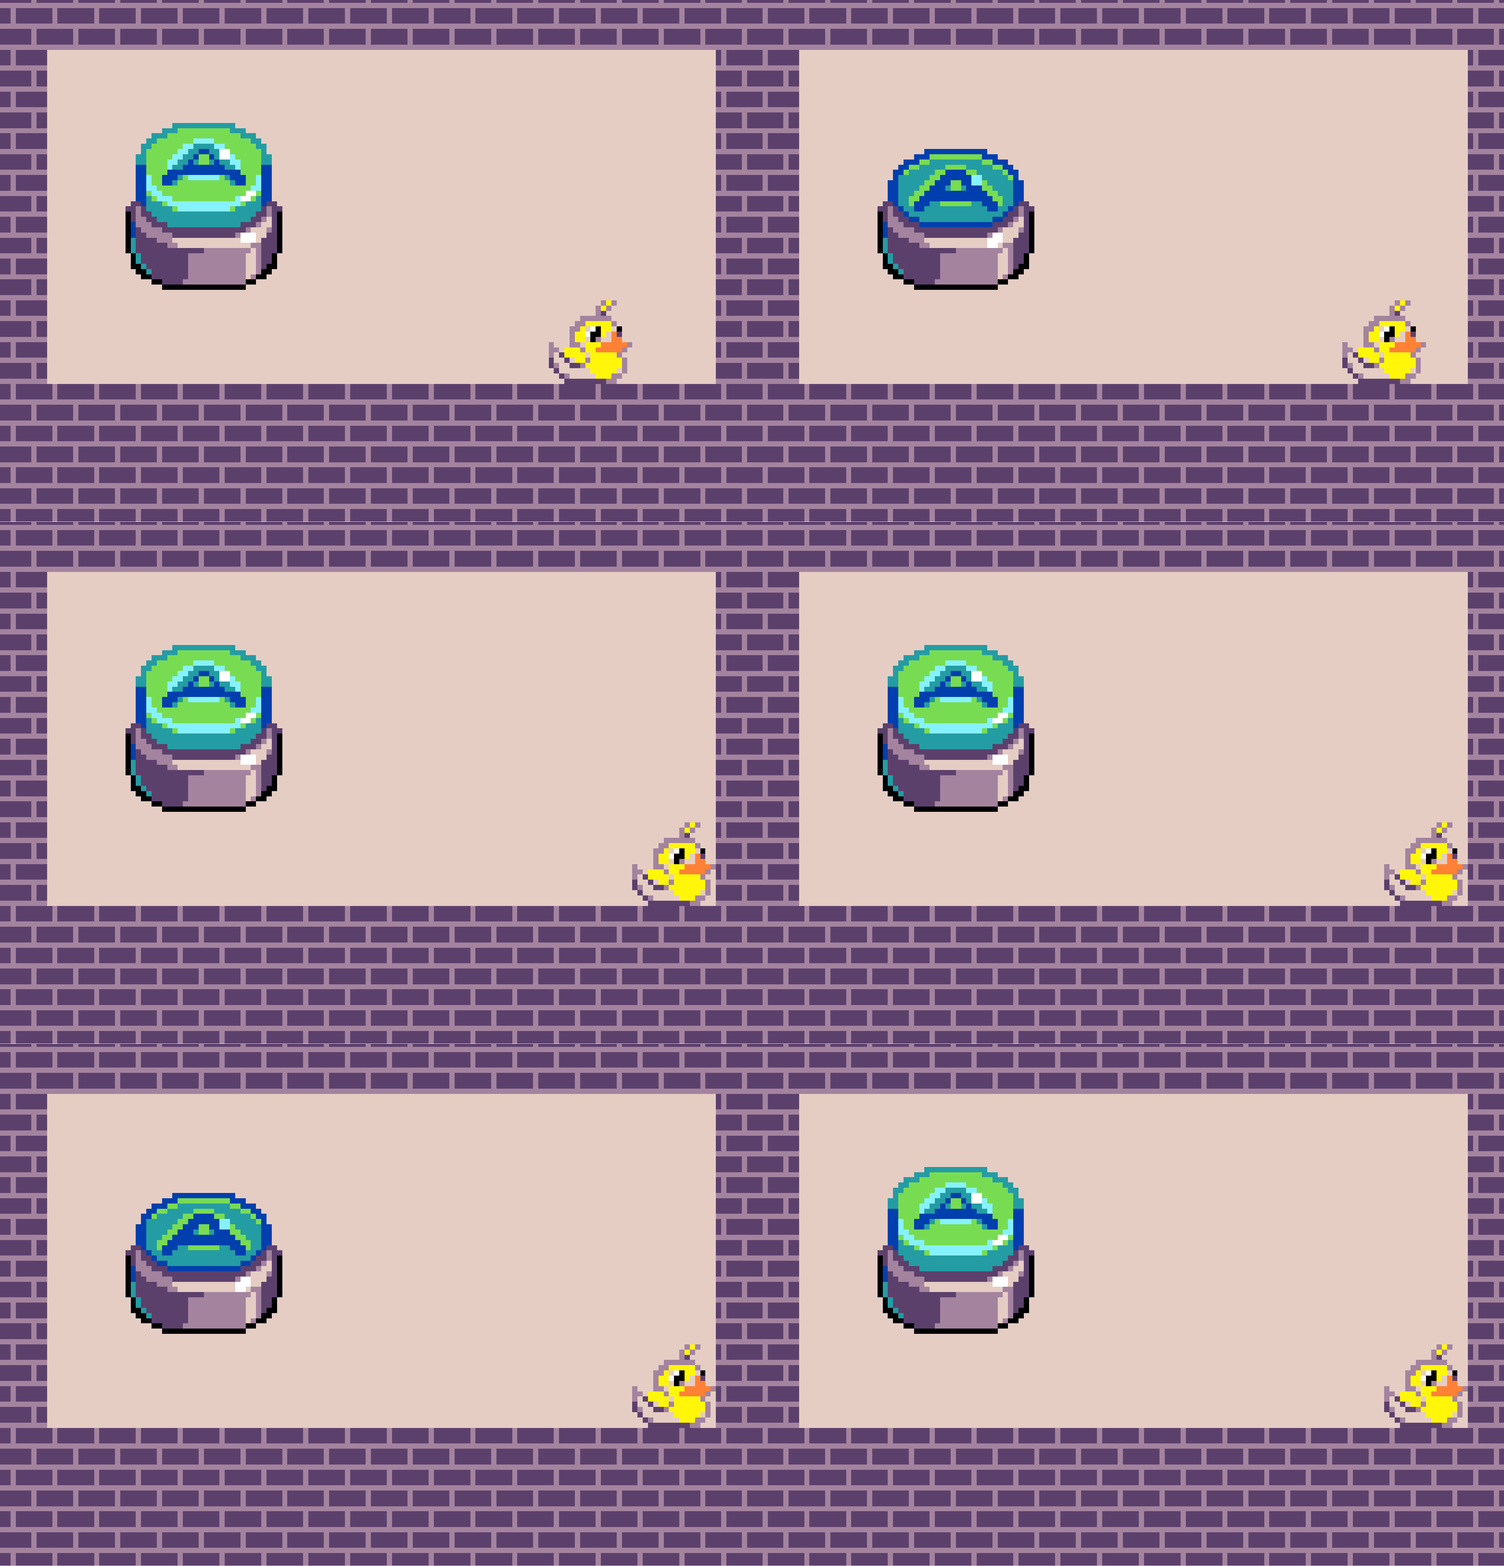
The sprite never starts clipping because it’s moving 4 or less pixels! If we were to increase the dash amount to 5 pixels, it would fall through the floor just like before.
That’s it for part 2! Tune in tomorrow for the exciting conclusion in part 3 where I talk about tips and tricks for avoiding collision and overlap bugs in your games!