Hey folks!
It’s time for Richard’s Arcade Tips #3! I’m trying out some new formatting stuff this time, so let me know if you like it in the comments.
Pause Until
Today, we’re going to talk about a very special block:

That’s right! It’s the “pause until” block!
Have you ever used this block before? At first glance, it might seem pretty simple, but “pause until” is actually one of the most deceptively complex concepts in Arcade. Let’s break it down and take a look at why it’s useful.
How it works
Simply put, the “pause until” block pauses the current thread and waits until something happens. The thing that it waits for is up to you; you control it by passing in a boolean expression as an argument.
To get a rough idea of how this works, take a look at this program:

In this script we:
- Create a projectile with vx of 75
- Pause until the projectile’s x is greater than 80
- Set the background color to pink
If we run it, here’s what we get:

The pause until doesn’t stop pausing until the cherry is past the halfway point of the screen. Once the cherry reaches the x=80 mark, the pausing ends and the background changes color.
Cool! That’s exactly what the block says it will do, so it makes intuitive sense that this works.
However, if you think about it some more, you might realize that this is actually pretty weird behavior.
Pause until is a weird block
Normally in Arcade when you write a boolean expression, it doesn’t change in value over time. The expression is evaluated only once and that result never changes.
Let’s tweak our program to demonstrate this:

In this edited version, we now assign our boolean expression to a variable before the “pause until” block starts waiting. After the “pause until” finishes, our sprite will say whatever value the variable has.
If we run this program, we get:

The variable’s value didn’t change even though the expression clearly evaluated to true for the “pause until” block.
So what gives? Well, the pause until block re-evaluates its argument once per frame until the argument becomes true. Pause until is the only block in Arcade that works this way, so it’s important to remember this rule!
See footnote #1 below for a demonstration of how the argument re-evaluation works. As a side note, this behavior also means that “pause until” converts to to JavaScript differently than any other block. See footnote #2 for more details on that.
Now that we understand what’s going on with “pause until”, let’s check out some examples!
Example #1: Cutscenes
The “pause until” block is really useful for doing cutscenes in games. In particular, you can use it to wait for button presses before advancing dialog.
See example
Let’s use this base program to make a cutscene:

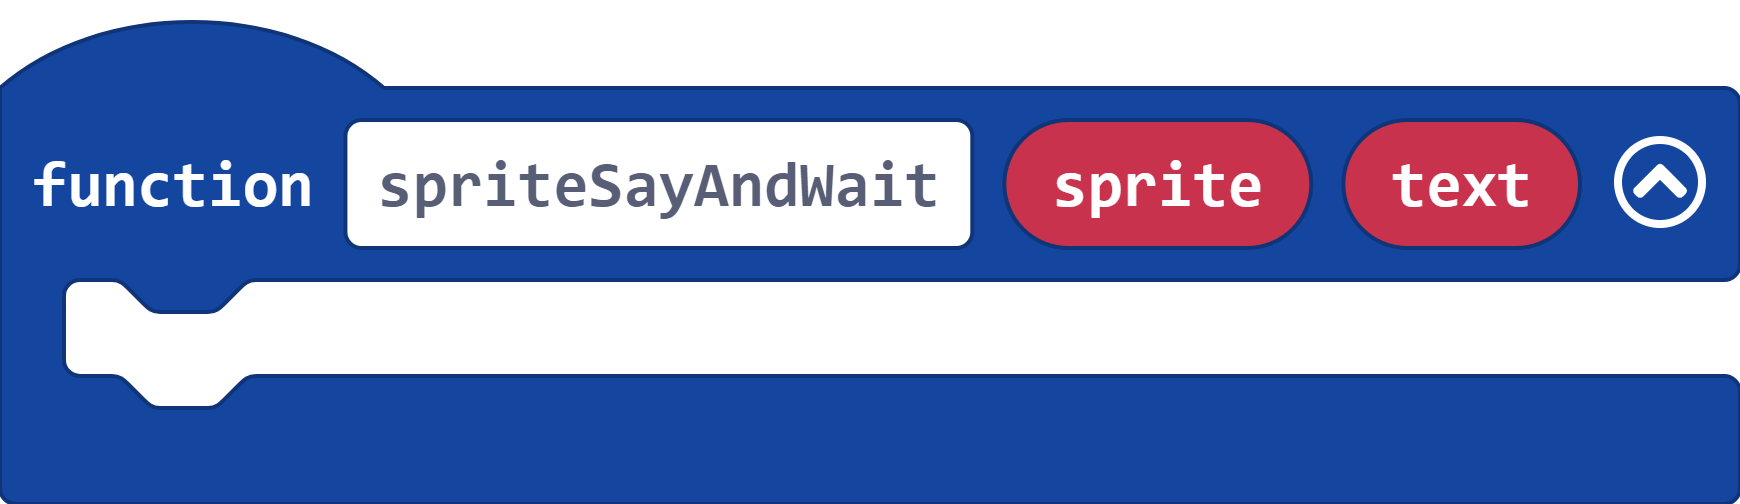
First, we’re going to create a custom function to make one of the characters say some text. This function will take in two arguments: a sprite and some text
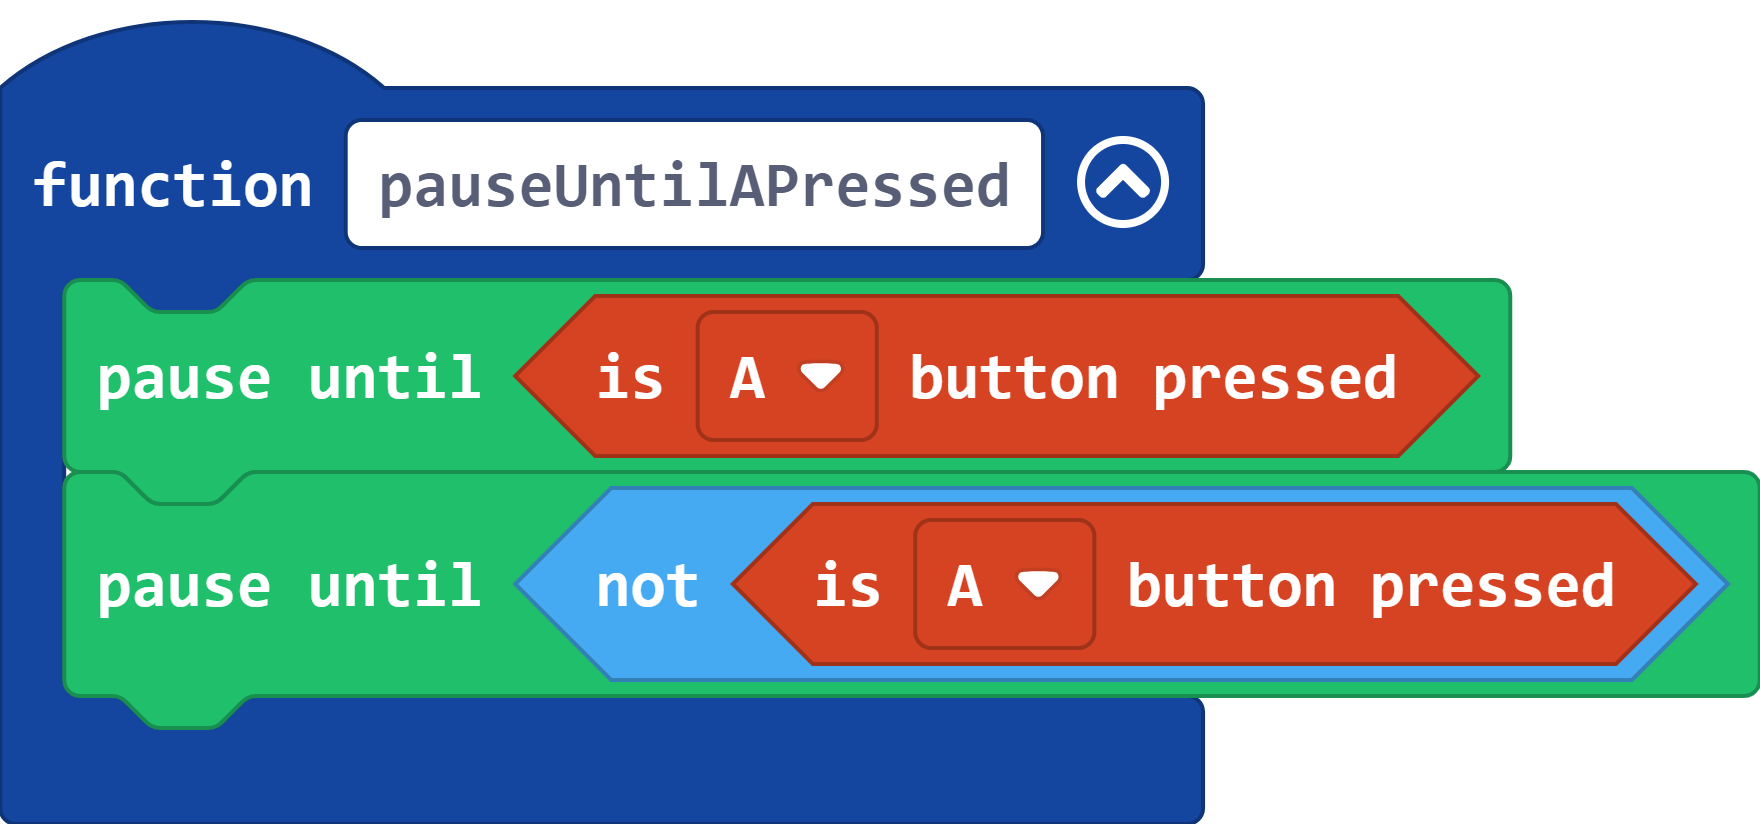
We want our sprite to say some text and then wait for the A button to be clicked before clearing it. A button click involves two events, the button being pressed and the button being released. Therefore, we have to use two “pause until” blocks like so:

See footnote #3 for an explanation of why we need two “pause until” blocks here.
Now we just add our “sprite say” block at the top, and a second one at the bottom to clear the text after the button press:

With that function we can fill in our “show cutscene” function from the base game:

Here’s the finished game:
Example #2: Boss battle scene
Another thing I often use “pause until” for is controlling sequences of events in scenes like multi-phase boss battles. There are lots of ways to write programs like this, but you can use “pause until” to keep your logic neat and tidy in a single function.
See example
Say you have a boss battle with multiple waves of enemies. The sequence of events for this battle might look like this:
- Boss says some dialog
- Enemy waves spawn
- Player defeats enemies
- Boss says more dialog
- More enemies spawn
- Player defeats enemies
- You win!
We can put all of this logic inside a single function by using “pause until”! For example, let’s write a function that waits until all the enemies have been defeated. To do this, we want our “pause until” argument to be an expression that indicates when there are no more enemy sprites left. We can make that happen by checking the length of the array returned by the “array of all sprites of kind” block:

Using that function, our boss battle code might look something like this:

For a full example game, check out the link below (the relevant bit is in the “startBossBattle” function):
Footnotes
(1): Arguments evaluated every frame
To illustrate how pause until runs every frame, let’s create let’s create a function that spawns a sprite and returns a boolean:

Now let’s call this function as an argument in another block. The “console log” block works for this:

If we run this code, a single duck will spawn:

Now let’s call our function as an argument to “pause until” instead:

We get this result:

Our function is called once per frame, so we get an avalanche of ducks.
Put simply: be careful about doing things like spawning sprites inside a function that is being passed to “pause until”
(2): JavaScript produced by pause until
If we convert this program to JavaScript:

We get this result:
console.log(true)
pauseUntil(() => true)
Even though the arguments in the blocks look the same, the one passed to “pause until” compiles differently. The syntax you see in this snippet is called an arrow function, and it’s a different syntax for declaring functions. The above snippet could be rewritten using a traditional function like this:
pauseUntil(function () {
    return true;
})
Note that there are many small differences between arrow functions and normal functions that I won’t get into here, but in this case the two are equivalent.
If you are a person who makes extensions, you might be asking yourself “How can I make my custom block convert an argument to a function like this?” Unfortunately, this is not a feature we expose to third party extensions. The “pause until” is the only block in MakeCode that compiles this way.
(3): Beware 'pause until is A button pressed'
If you want to sequence some code by pausing until some button is pressed, you might be tempted to just use a single “pause until” block with an “is A button pressed” block as an argument. This is almost always not what you want.
To illustrate the problem, take a look at this code for a clicker style game:
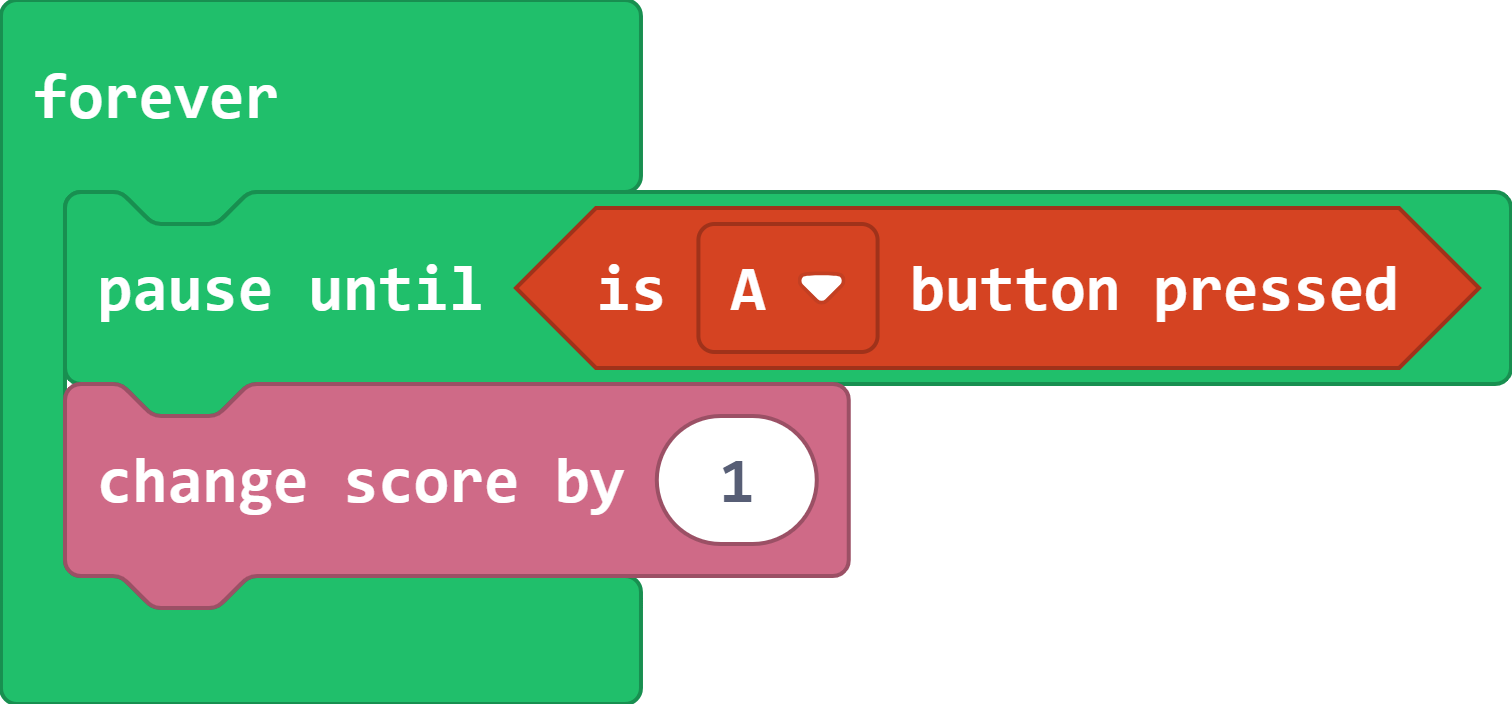
Reading this code, you might think that every time I press A, my score will go up by 1. In actuality, this code will make my score go up by much more than 1 every time I press A. Try it out for yourself
The reason this happens is because “is A button pressed” doesn’t stop being true once the “pause until” block finishes pausing, so when the code runs again in the next iteration of the forever loop, it won’t pause at all. This will continue until I release the A button.
The fix for this is simple: always pause until a button is released after pausing until it’s pressed. Or, better yet, just make a function for it: