dude, genuinely I don’t even know how you did this. suggestion: BMW M3
2 Likes
Believe it or not it’s simpler than it looks 
If I ever update this game again, I’ll definitely consider the M3!
1 Like
I’m going to give this (based of @Sarge’s review templates) a game review!
-Gameplay-
Grass growing is more exciting
Boring
Middle
Very Exciting
 Amazing
-Graphics-
Downright bad
Not very good
A lot could be improved
Not that many changes, still very good!
Luke level
-Performance-
3,000 + computer crashes
Glitches
Okay, still some bugs
Doesn’t crash, but still glitches
Flawless
-Overall rating-
5/5 - The gameplay is awesome and great to play! Nice job!
~OrigamiArtist 
9 Likes
Nice game @Octodemon! How did you make it so that when you enter the game a second tine the intro doesn’t play again.
I have tried this so many times and still failed! Lol
1 Like
It’s actually really simple! All I did was I installed the settings extension and checked if a setting I named “game started” exists. If not the intro plays. At the end of the intro I create the “game started” setting so every time the project is restarted the intro doesn’t play again.
Hope that helps!
5 Likes
The settings extension!
press B to see it again.
2 Likes
It needs to use the settings extension I have an example right here
2 Likes
Thanks so much for the answer. I got what I did wrong now.
Thx!
3 Likes
Hey @Octodemon, you said that you were going to make a post about the racing AI used for this game. Could you release it soon?
2 Likes
Sure! I’ve just been busy is all.
3 Likes
Hey guys! As I’ve said a while ago, I was eventually going to release a few posts on how I made certain things in Floorit. So today I’ll be talking about how I made Floorit’s AI.
Floorit’s AI is not as complex as some might think and honestly quite simple! So below I’ll being going through the steps I made to code it!
Step 1 : Teaching the AI the Track

What I have in red is the angle I’m facing and what I have in blue is my car’s position. Now what I would do with these values is I would record them as I go along the track and then give the AI the same values so it would copy my movements.

As you can see in this example here in the red circle, the Ai car is moving to the position I recorded, and in the blue circle it’s turning to the direction I recorded. In the green circle is the speed at which the car’s AI does these movements. (So for higher car classes the higher the speed is)
Also, if you were wondering I added the random number blocks to the original position I recorded for variation of the AI so they don’t follow my path exactly and it looks like there is variation on each lap they complete.
All I did was repeat this process until I got around the full track!
Step 2: Pit Lanes

Pit lanes were also fairly easy to code too! All I had to do is apply the same principles talked about in Step 1 but instead of the car going the normal route on the track, they instead go into the pit lane and pause for a bit. What decides this is the randomnumber variable at the top!
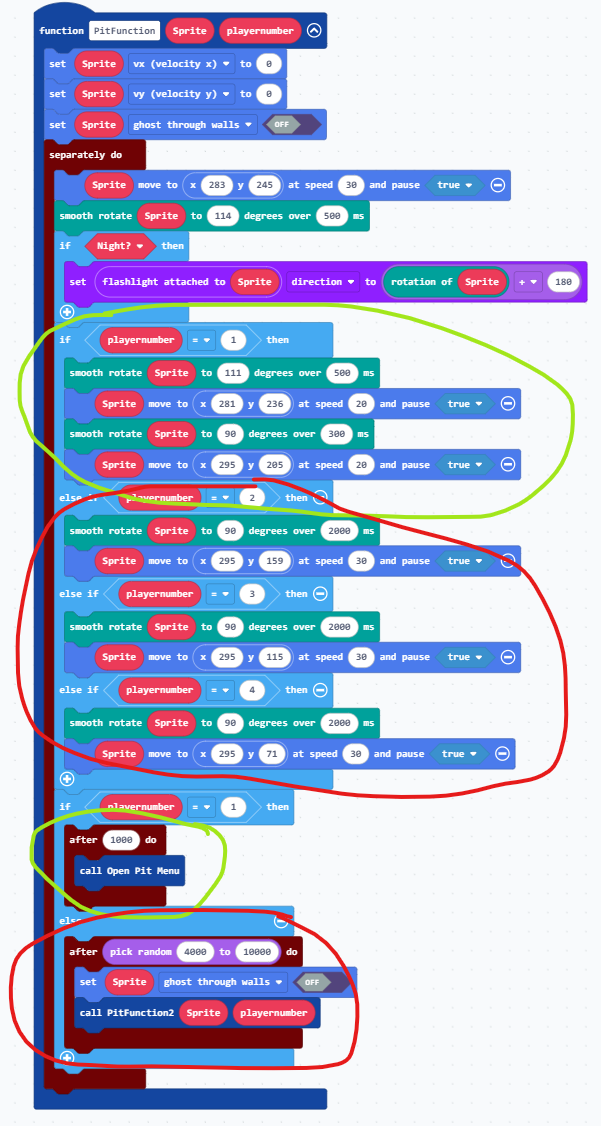
In what I circled green are the player’s functions, so we won’t have to worry about those.
In the red circle on the top that determines which pit each car enters (each car is assigned a number and they go to that respective pit lane)
And on the other red circle at the bottom, it just determines how long the AI stays in the pit before exiting!
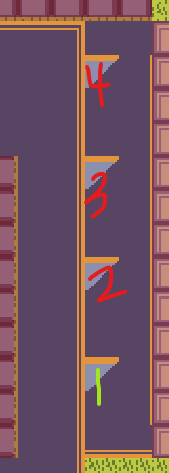
Step 3: Repeating the Track

This is probably the simplest step out of all of them so far! Each sprite has a number of laps recorded onto them with the sprite data extension and when they meet that requirement they stop completely. If they haven’t, the code from steps 1 and 2 play again and the cycle is repeated.
Extensions used:
- Sprite Utils
- Sprite FX
- Sprite Data
- Sprite Events
- Timer
Conclusion
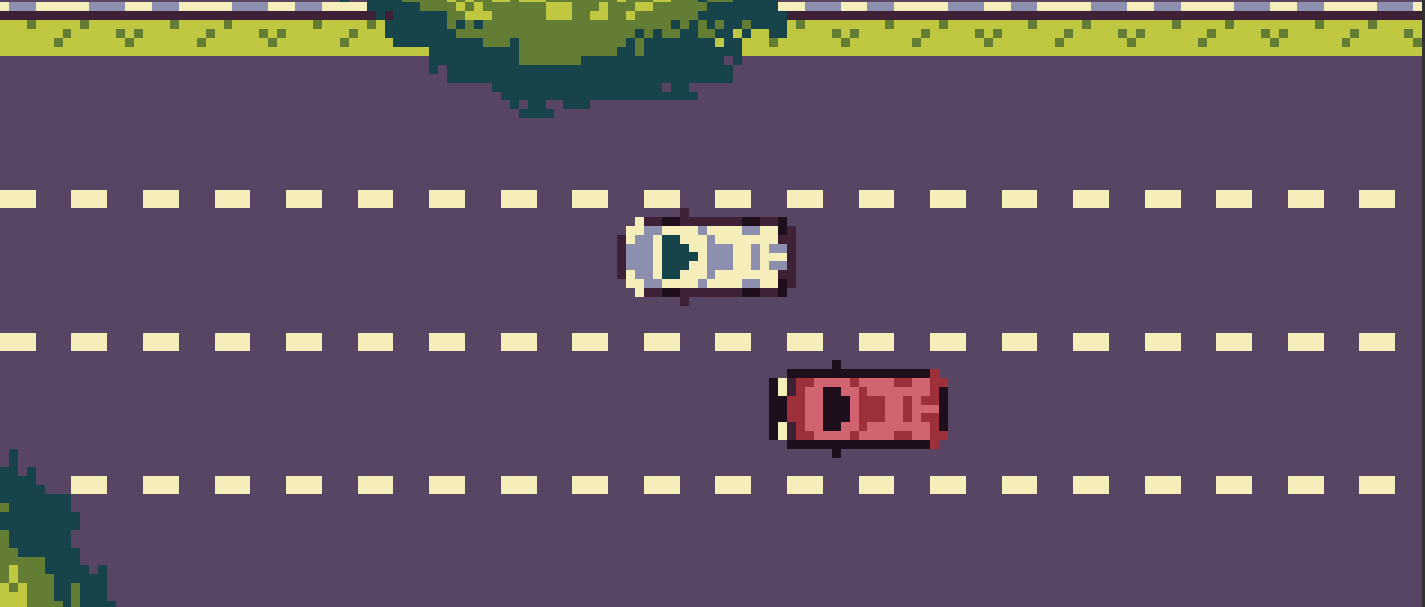
That’s it from me! If you have any more questions on how I made something or how I coded something please feel free to ask! For now, look out for my new spinoff for Floorit, Floorit : The Wanted!
-Octodemon 
8 Likes