I wanted to share my Gameboy Emulator that I wrote using Microsoft MakeCode. I took on this project mainly as a challenge and to push the limits of what is possible with MakeCode
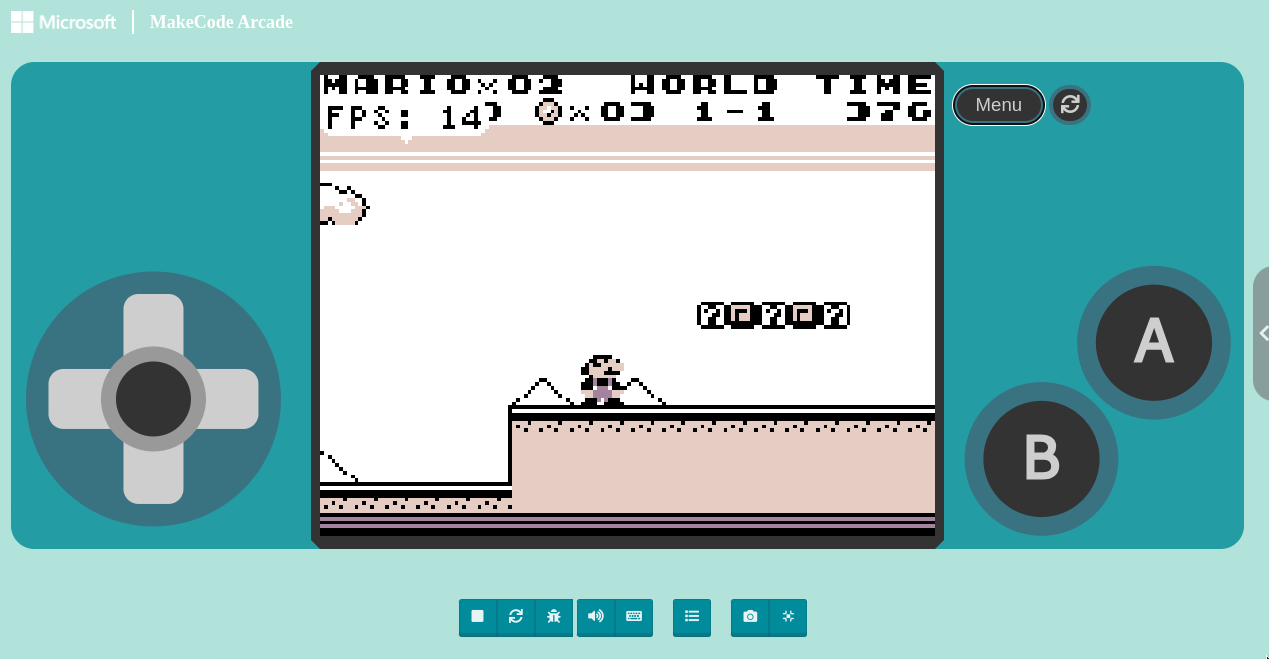
I really love this platform and have used it to work on some games with my 7 year old daughter. It got me thinking about what could be possible. The MakeCode screen (at 160x120) is very similar to the Gameboy screen (at 160x144). So I basically had to squeeze it slightly in the vertical direction but horizontally you don’t lose any pixels.
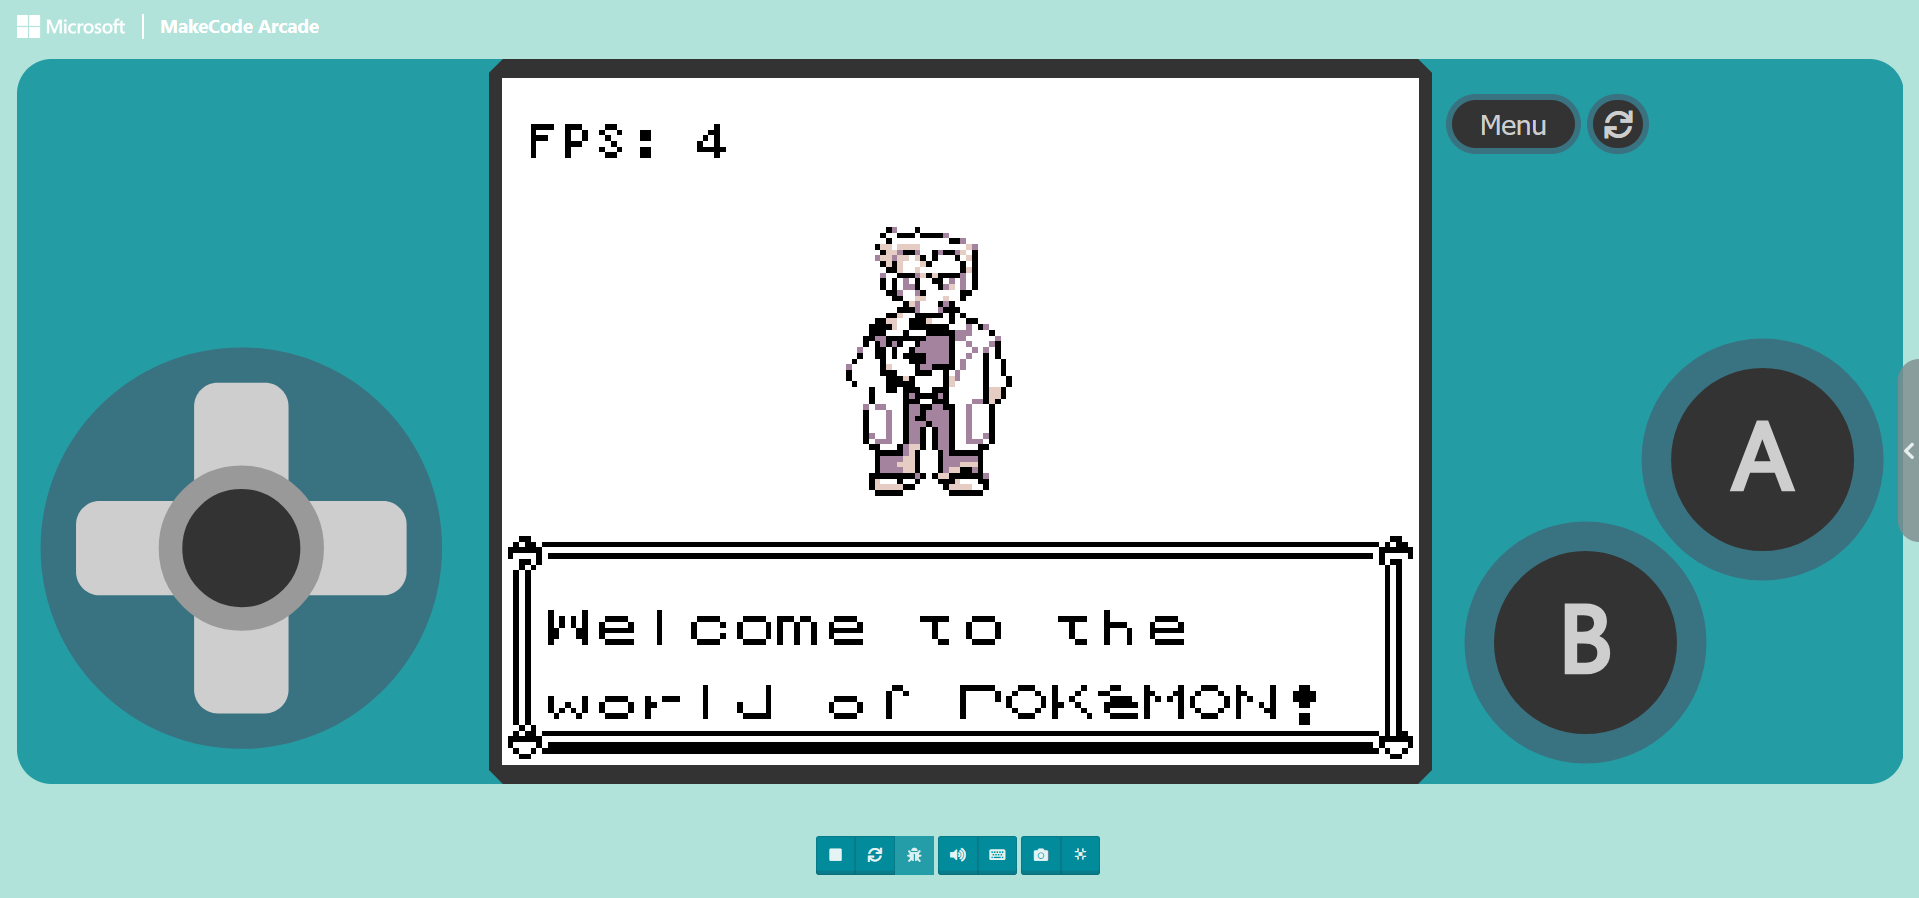
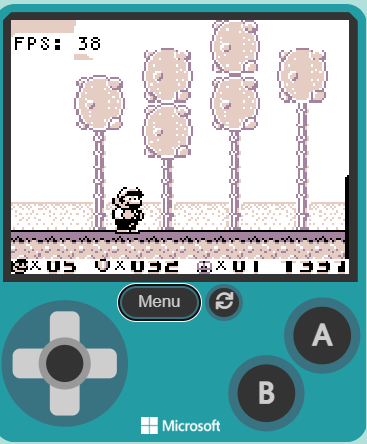
That being said the emulator itself currently runs pretty slow, averaging around 20-25 frames per second on most games using the simulator. On real hardware it’s even worse at around 2 FPS -
The game included is an unfinished demo I had been working on. In order to load your own roms look at the top of the code for the instructions. Basically you need to convert it to a MakeCode Image for it to work. When I originally started working on the project I stored the rom data as a simple number array but the app would not compile saying the program was too large. This could be some kind of memory constraint. However after encoding it into an image it worked. Possibly this is because the hardware stores images/assets in another part of the memory that is larger? not sure but that is my theory. So the image approach worked fine since each pixel is 4 bits (16 colors) so I used 2 pixels to represent each byte.
Anyway, I’d love to get some feedback. Also any tips on how I can improve the performance would be highly welcome. All of the rendering is done by using setPixel directly to the background image. Though I think just emulating the Gameboy CPU which originally ran at around 4mhz is the main bottleneck. I am relatively new to this platform so would love to hear what people think and if there is some way to squeeze more performance out of it.
@nbarkhina images, strings, numbers, etc. do indeed get stored in the flash storage of the game rather than in memory which has a lot more available space. declared arrays don’t get the same treatment, so they end up taking memory (and also cause the code generation to be much less efficient).
however, instead of images you might find it easier to use buffers for storing data. the syntax for buffers looks like this:
let myBuffer = hex`0123456789ABCDEF`
data declared this way is also stored in flash, but buffers are much easier to get bytes (and other number types) out of, plus you can put them all on a single line
Sorry to ask, but is there any unnecessary code in here? I’ve been trying to cut down some of the code to use less storage space so that it would fit on my Meowbit. Thanks!
I made a version with better performance using image.setRows but It’s useless because now the screen is flipped 90 degress because apparently setRows secretly means setColumns
you should make the game be stored in an asset, like assets.imagegame or a buffer or something. also I want this on my meowbit, any way to reduce storage size?