Time for another RUNE LOG!
The his ones a little long, so tuck in.
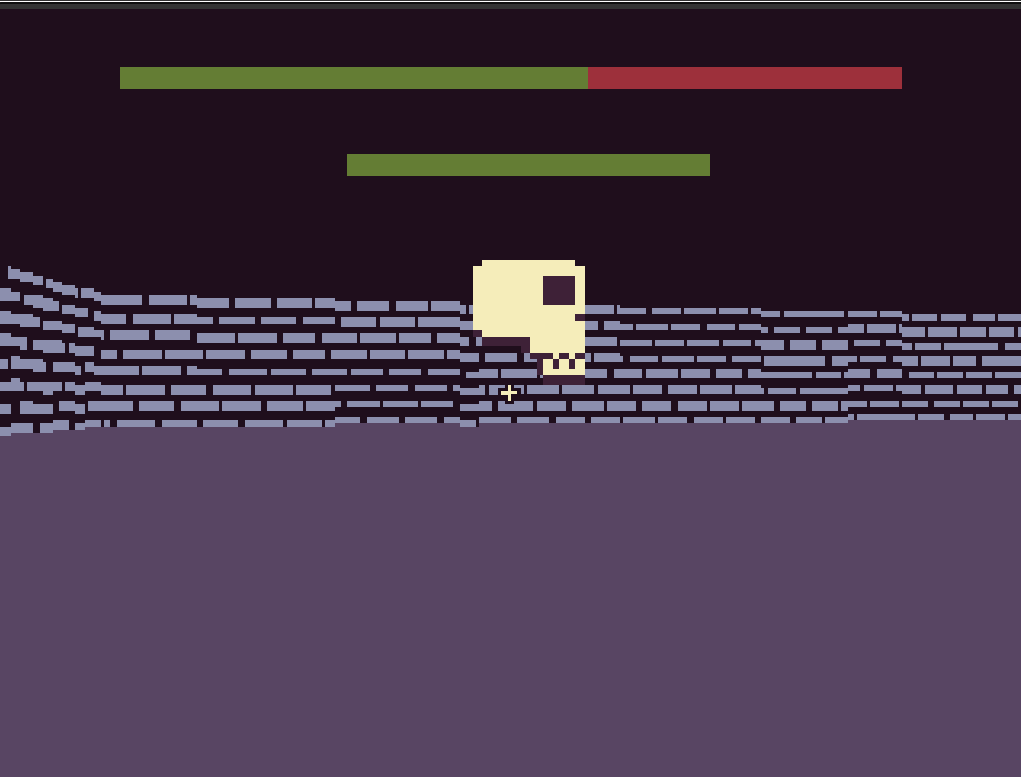
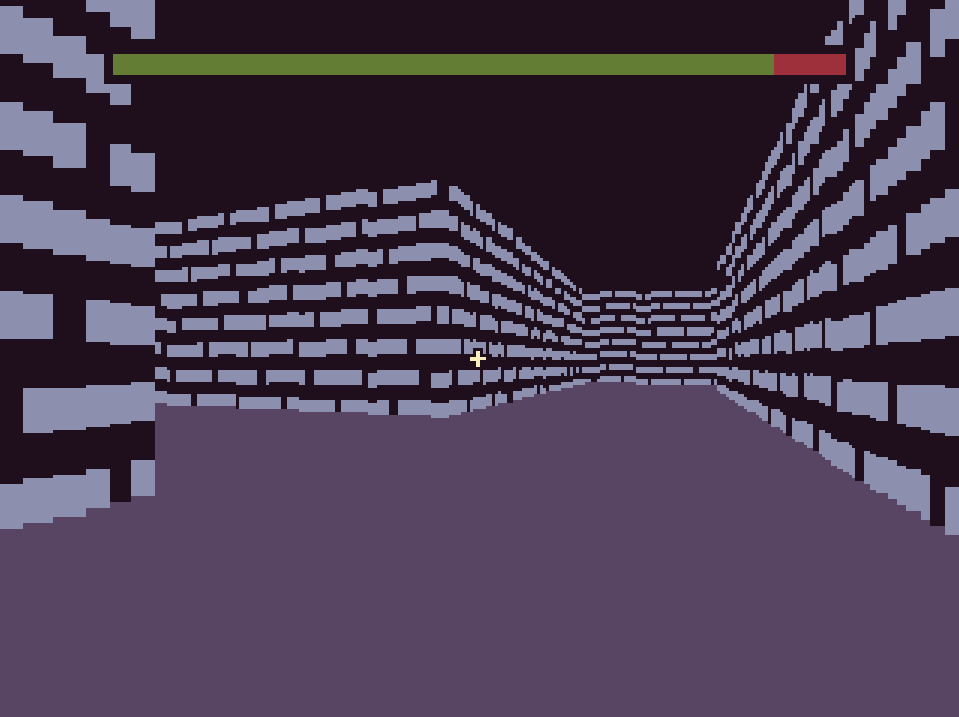
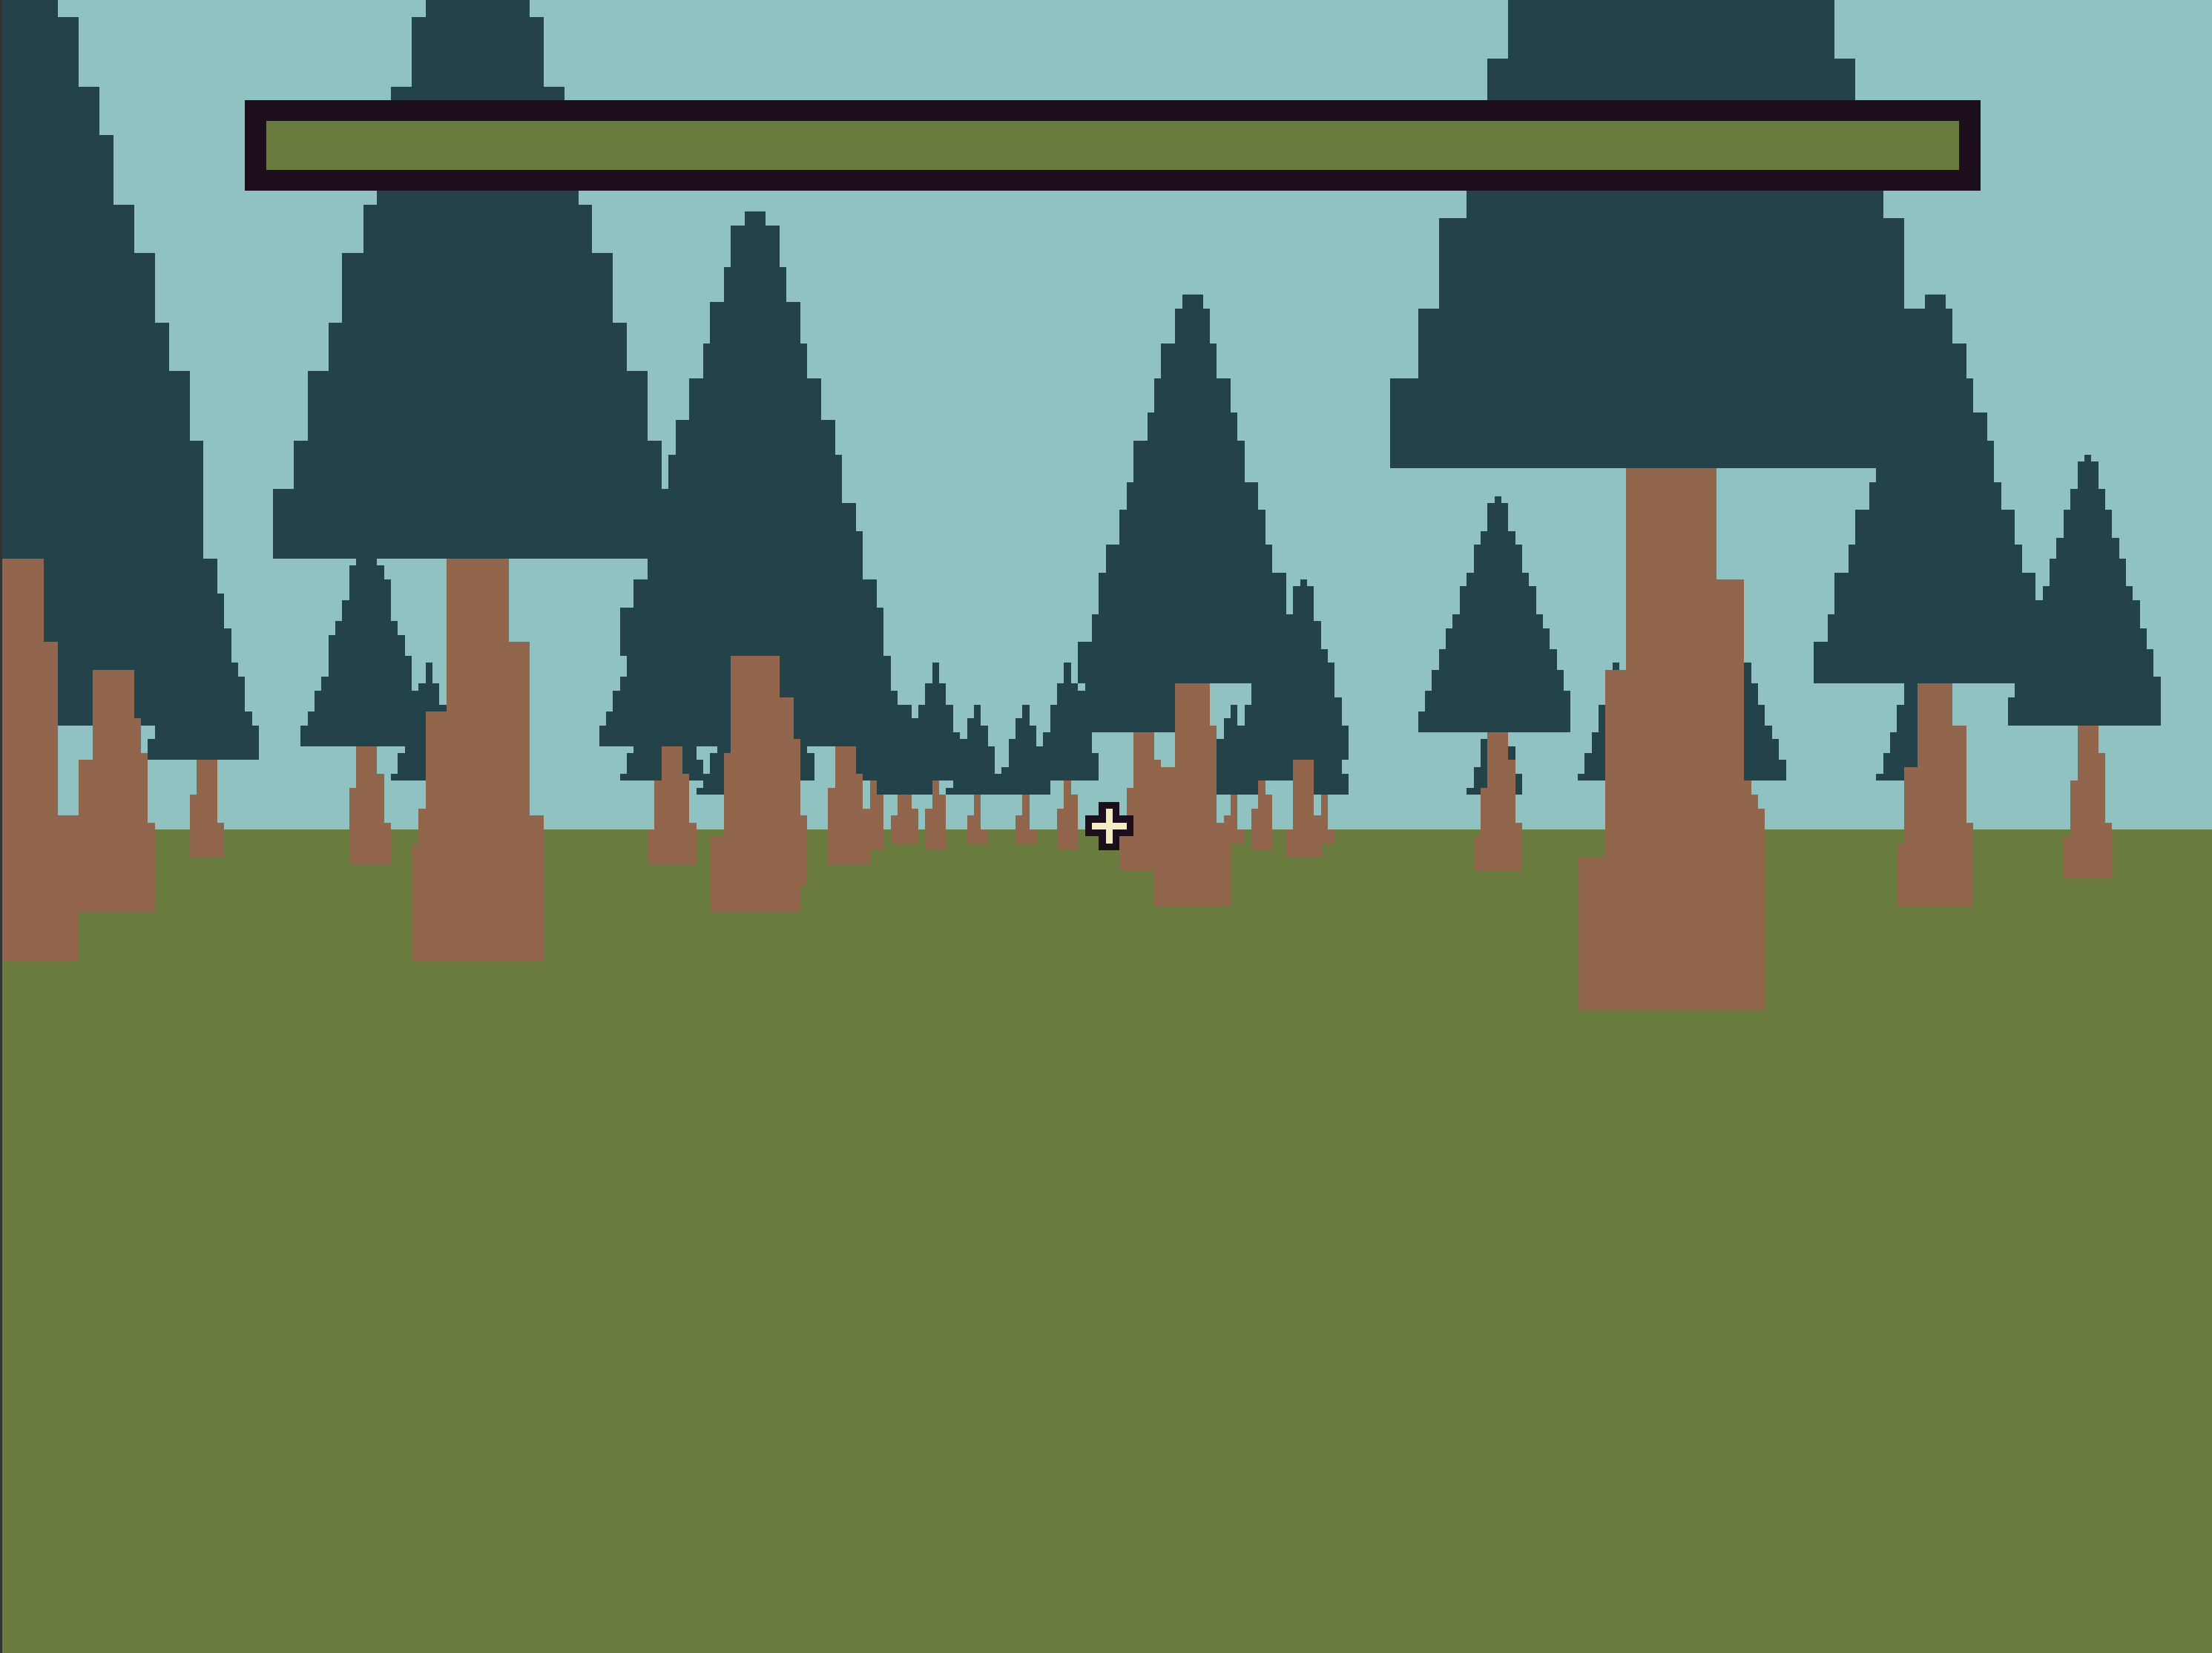
Dungeons 3D is still in development, here’s another low quality screenshot:
Did I mention last time that the movement includes strafing and mouse-camera control? Because the mouse cannot be locked to the makecode screen, the camera works by the current position of your mouse. If your mouse is on the left side of the screen, you turn left. And you turn faster depending how far left your mouse is. (This works for right too)
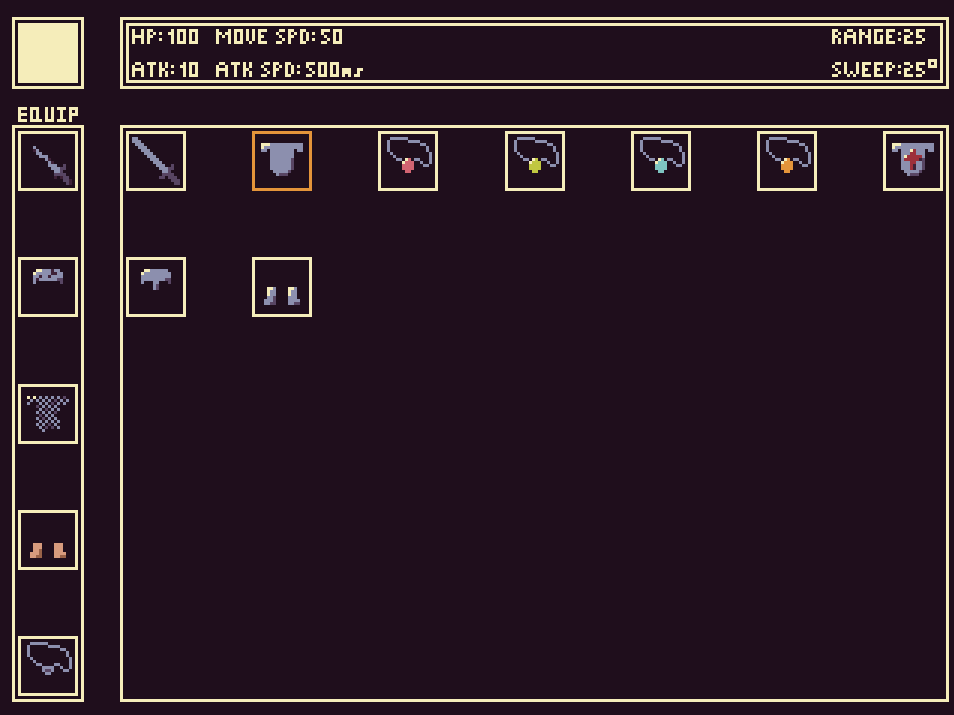
I have been working on the inventory system, which needs to store items, equip them, show that they are equipped, and adjust stats accordingly. It is quite complex, but I’ve been getting it done. Although there is quite a big problem:
For those who want to help
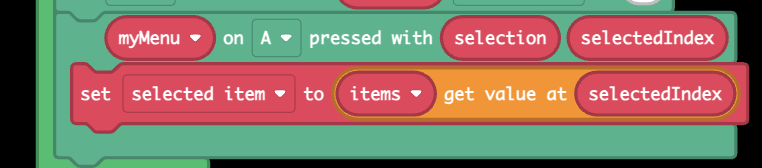
I have been storing every item as a Mini-Menu item, to easily make the actual menu. Although the menu is icon only, I gave each item an ID which I stored in the item name.
The problem is, the Mini-Menu extension does not have a way to access an item’s name as a text string.
Is there a way to get around this? Or possibly Mini-Menu branch that adds the block I need? Perhaps someone smarter than me could make the branch that I need?
(@richard @WoofWoof )
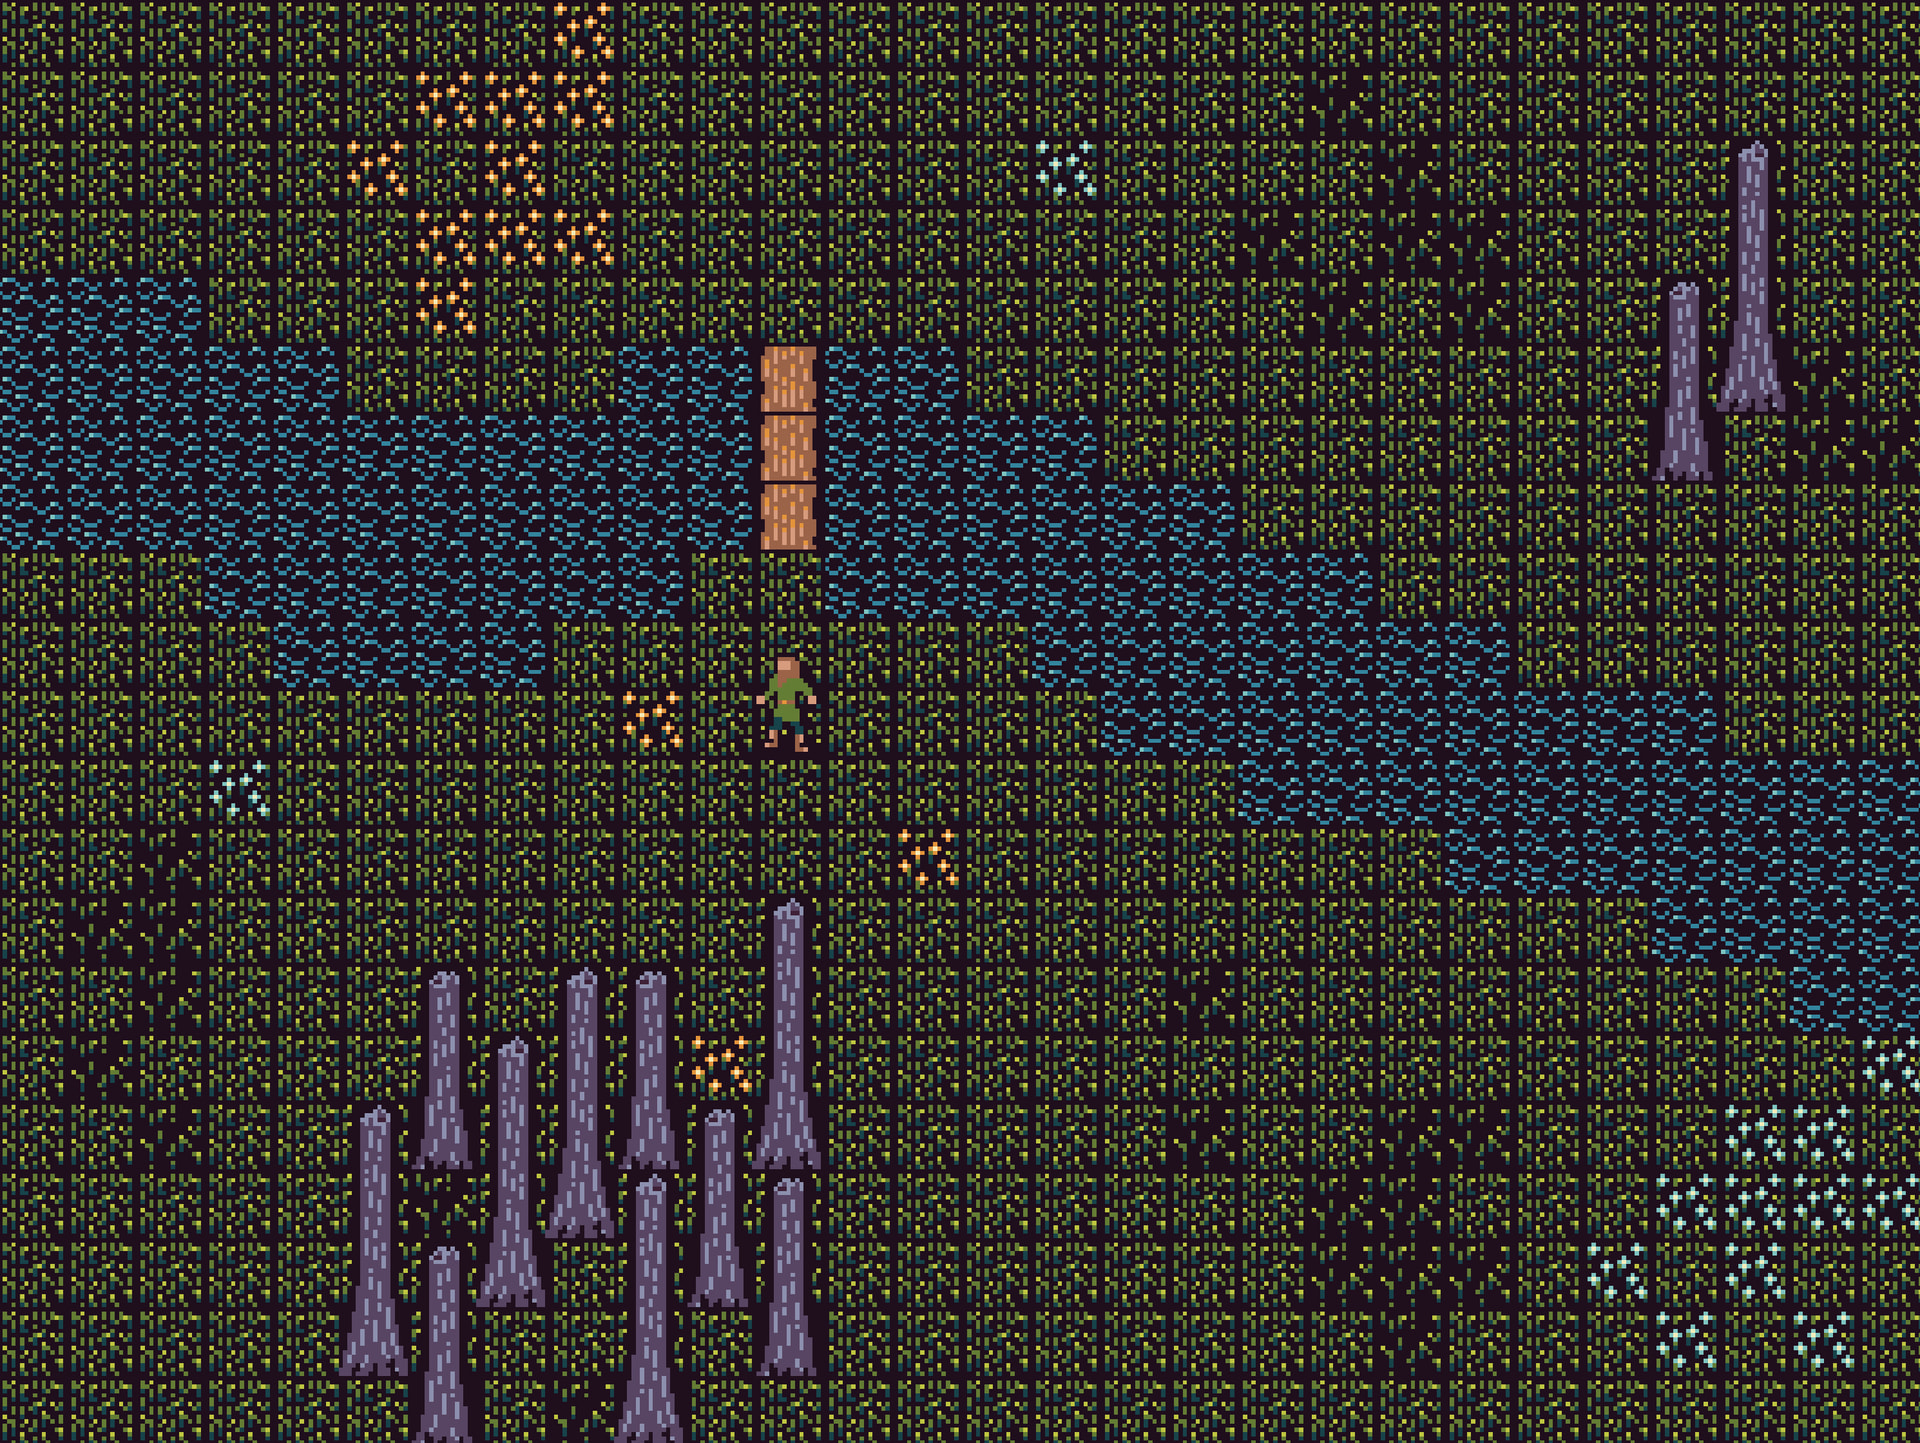
Here is a picture of what I’ve got so far:
Recently, someone asked about how I made part of my Heist Jam submission Nine Cores, and I realized that that game probably looks like magic to an inexperienced makecoder. (Not that the person who asked was inexperienced)
So here’s how I did some of that stuff:
High Resolution
You can change the resolution of the makecode screen using this code in the JavaScript editor:
namespace userconfig {
export const ARCADE_SCREEN_WIDTH = 320
export const ARCADE_SCREEN_HEIGHT = 240
}
The numbers on the right are how big the screen is. I used 640x480 for Nine Cores!
BUT BE WARNED: increasing screen size exponentially slows down your game, I believe the resolution In Nine Cores should be your max, maybe larger if you want to make a simple game.
Cursor and shooting
There is a sprite called Croshair, and I used the browser extension to move it to where the mouse is. It’s a little more complex than that when the camera moves, but I don’t even remember how all that spaghetti code worked so…
Then I used the Sprite Utils extension to get the angle between the player sprite and the crosshair, and set that to a variable. The gun sprite is always set to the players position, and I used a nifty Sprite Transforms extension to make it rotate the gun towards the crosshair with the variable I set earlier.
When the mouse button is pressed, it creates five bullet sprites, placed at the barrel of the gun. Then it uses another block from the Sprite Utils extension to move the bullets in the same angle I used to rotate the gun. Each bullet’s movement angle is offset by a few degrees, which makes the shotgun spread.
Thank you for reading! I plan to post a few of my best unfinished games here soon, so stay tuned!