@sbergeroncp well the easiest way is just to remove the background image you have in all of your code snippets; that’s what’s causing the large file.
If you don’t want to remove it, you can instead move the image into an asset pack.
Here are instructions for creating an asset pack:
Create a new project. The name of this project will end up being the namespace of the asset pack you create, so make sure to rename it to a valid javascript variable name (no spaces, only letters, underscores, and numbers). For example, my_asset_pack
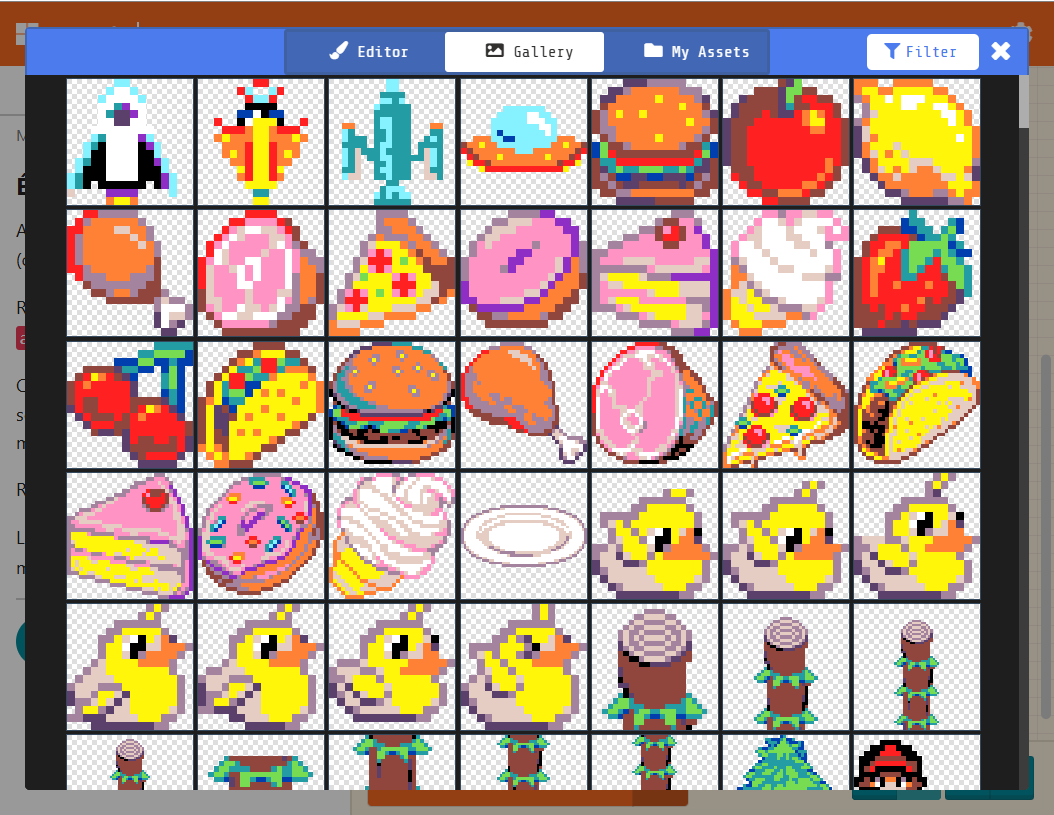
Switch to the assets tab
Create a new image asset and paste in the background image from your instructions
Give the asset a name in the bottom right of the image editor. This name will be the name you reference in your code, so make sure it’s a valid javascript variable name. For example, background1
Close the image editor and switch to the javascript tab
On the left, in the file explorer underneath the simulator, open up pxt.json
Click “Edit settings as text”,
Underneath the line that says “description”, paste this line:
"assetPack": true,
In the file explorer, switch back to main.ts
Turn this project into a GitHub repo using the GitHub button in the bottom toolbar (for example, my_github_username/my_asset_pack)
Now that you have an asset pack, you can add it to your tutorial just like you would an extension. Add an annotation like this to the bottom of your markdown file:
Vous êtes invités à écrire en français ici. Nous pouvons traduire assez facilement, surtout si cela ne vous dérange pas de notre mauvaise grammaire !
Dans le fichier pxt.json, l’ordre des attributs n’a pas d’importance. L’éditeur les place dans l’ordre qu’il veut, mais le sens ne change pas.
Avez-vous essayé d’ajouter la nouvelle ressource à votre didacticiel ? Recevez-vous le même message d’erreur, « Please check your internet connection and check the tutorial is valid » ?
J’essaierai d’y travailler lundi pour vous et de vous donner un exemple concret. Merci de votre patience !
Hello, sbergeroncp and welcome!
You are welcome to write in French here. We can translate rather easily, especially if you do not mind our poor grammar!
In the file pxt.json, the order of the attributes does not matter. The editor puts them in an order that it likes, but the meaning does not change.
Have you tried adding the asset to your tutorial? Do you get the same error, “Please check your internet connection and check the tutorial is valid?”
I’ll try to spend some time on this on Monday for you and get you a working example. Thank you for your patience!
Est-ce possible pour toi de créer un petit tutoriel avec des captures d’écran? (screenshots) Il y a quelque chose que je ne comprends pas. Merci encore une fois !
J’ai vu vos tutoriels pour les micro:bit. Ils sont tellement incroyables ! Brillant ! Beau travail !
Attendez s.v.p. pendant que j’écris des instructions pour vous. Alors, vous pouvez certainement regarder le code source à GitHub avant que je finis le document pour vous.
Hi, sbergeroncp!
Here is my completed tutorial.
I looked at your tutorials for micro:bit. They’re really incredible! Excellent! Great work!
Please wait while I write instructions for you. Anyway, you certainly can look at the source code on GitHub before I finish the document for you.
J’ai commencé un nouveau site Web où je rassemble certaines de mes pensées et instructions qui n’apparaissent pas encore dans la documentation officielle de MakeCode. La première page développe les conseils que j’ai écrits pour aider @rymc88 avec ses tutoriels.[1] Je vais commencer à écrire un tutoriel sur la création de skillmaps, de tutoriels et de packs de ressources ( « asset packs » ) cet après-midi.
Si vous souhaitez m’aider en relisant mes documents en français, faites-le moi savoir et je serai heureux de vous ajouter au référentiel GitHub en tant que contributeur.
De plus, si l’un d’entre vous parle couramment l’espagnol (ou d’autres langues !) et souhaite m’aider avec la traduction, faites-le moi savoir !
I’ve started a new website where I am collecting some of my thoughts and instructions that do not yet appear in the official MakeCode documentation. The first page expands on the tips that I wrote to help rymc88 with his tutorials.[1] I will start writing a tutorial on creating skillmaps, tutorials, and asset packs this afternoon.
If you would like to help me by proofreading my French documents, then just let me know and I will be happy to add you to the GitHub repo as a contributor.
Also, if any of you are fluent in Spanish (or other languages!) and would like to help me with translation, then let me know!