The built-in art editor in makecode is decent and all, but it can be pretty clunky, and lacks a lot of features. You can’t have layers, a reference image, a lasso tool, and many other useful quality of life stuff you’d get in a dedicated pixel art software like Aseprite. So what if you could just use Aseprite(or any other pixel art software) instead? Well, there is a way to seamlessly do so. By following these steps, you can transfer exactly what you draw in Aseprite without manually re-drawing every pixel!
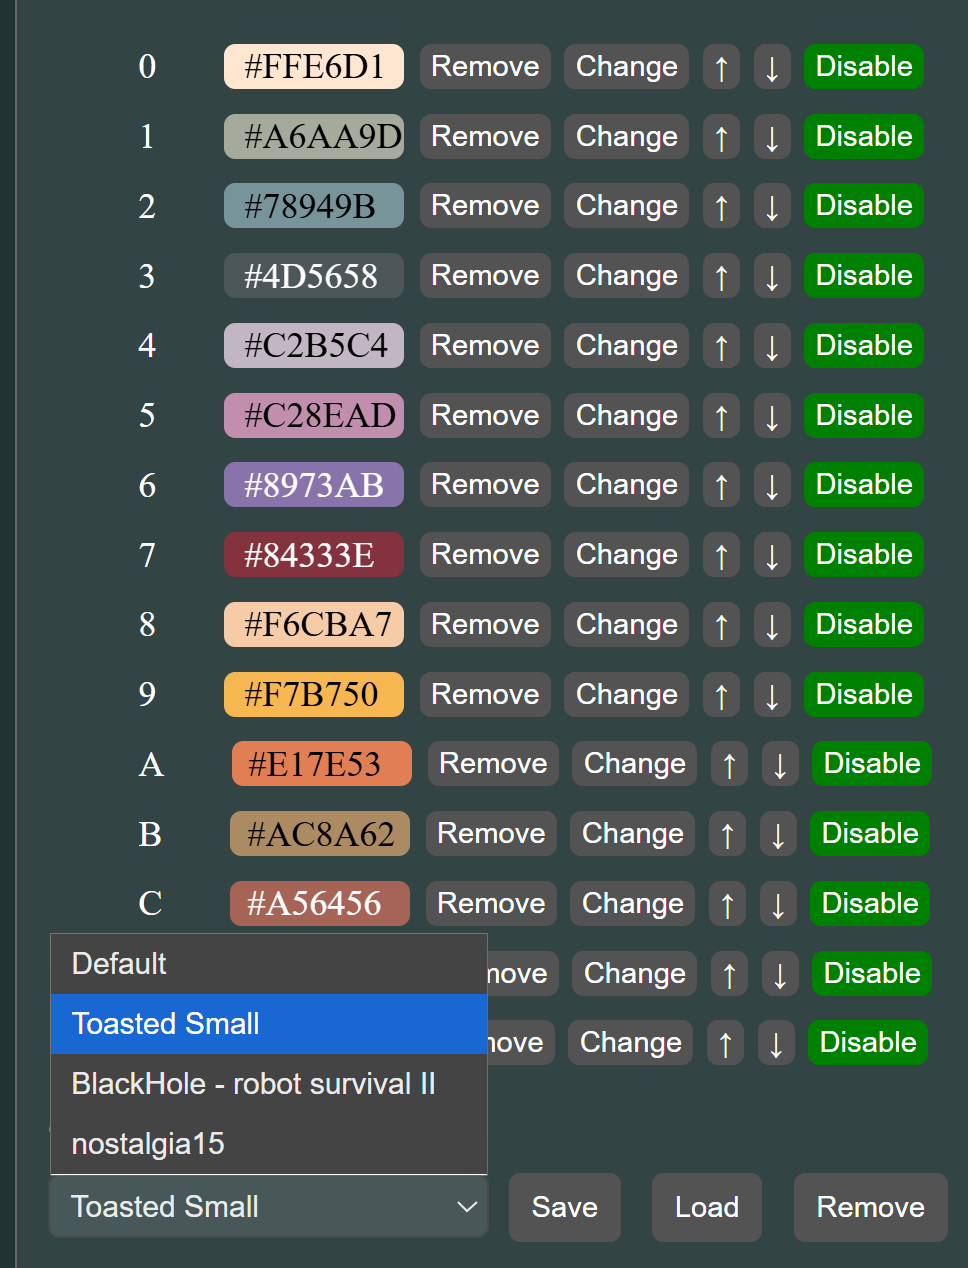
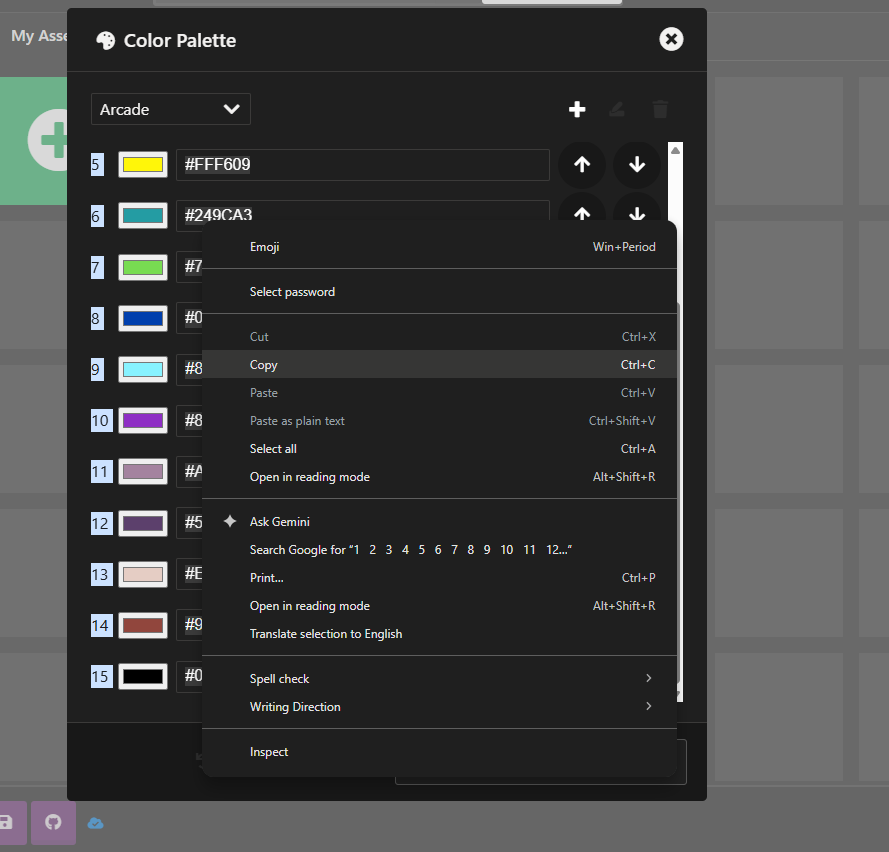
- Transfer the color palette: Obviously, you need to make sure you have the exact same colors. Go to assets, click on color, and transfer those colors to whatever software you’re using. Preferably save that palette so you don’t have to repeat this step. If the colors aren’t identical, this won’t work.

-
Draw whatever: Draw the stuff you need to draw, now much more easily. Keep makecode’s screen resolution in mind.
-
Export: Export the image once you’re done, and make sure that it’s the original size, no upscaling.
-
Convert to makecode: By using this makecode image converter, https://kristianpedersen.github.io/Convert-Image-to-MakeCode-Arcade-Sprite/, you can transfer that export into makecode! Here’s a few things to note: If it’s a small sprite, be sure toggle “keep original size”, and if it’s bigger than the default resolution, be sure to manually set the custom resolution. If done correctly, it should look EXACTLY like the original!
-
Convert to blocks(optional): Do note that the image converter gives you javascript code, and I KNOW a lot of you hate javascript (except @WoofWoof). So you can simply create an empty project, paste it there, and then just copy the image. Then you can take it wherever you want.

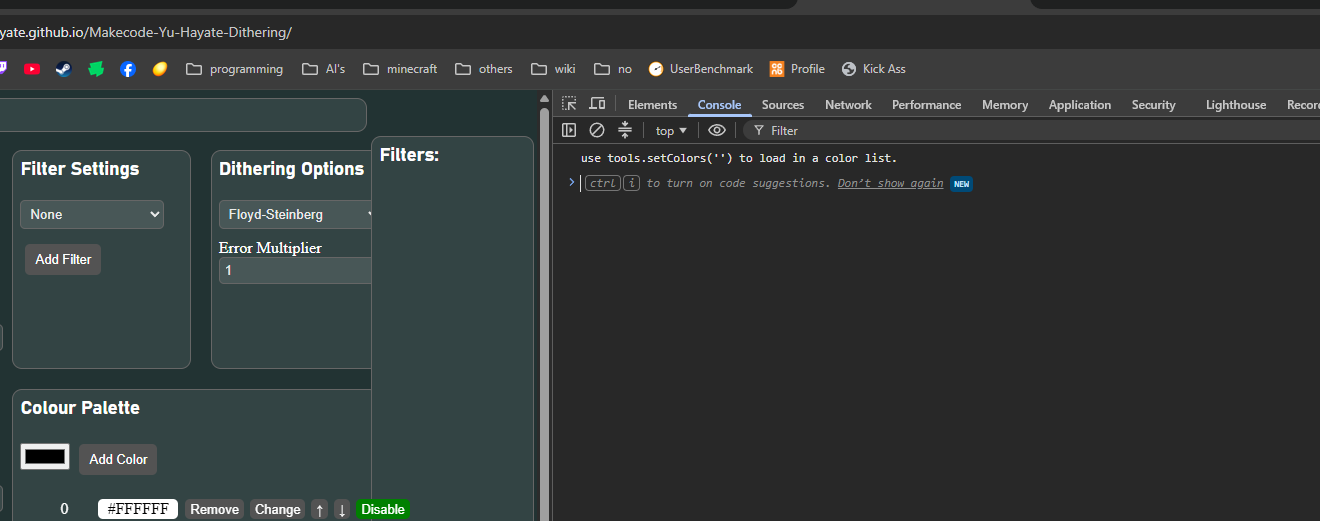
And there you go! With this simple process, you no longer need to use the mid makecode art editor. Oh, and a few more things, the image converter makes empty space black, and I’m not sure how well this works with custom palettes.