I have been planning this since 8th grade. The reason I am finally able to make this is because we now finally have self chosen project in arts and crafts (if that is what it’s called in english). I am going to post updates about the project here, as well ask for help if I need it (spoiler: I need it) before I can even start I have an instant problem though. I can’t seem to find the link to where you buy the buttons and joysticks as shown in the tutorial
GASPPPP!!! twinss!!! (quadruplets? XD)
I have the link to what I bought, but it’s on amazon canada (I bought it while on vacation up there) but there should be something similar near you!
I’ve got alot of progress. But i have a few things to say to the people who wants to do this as well.
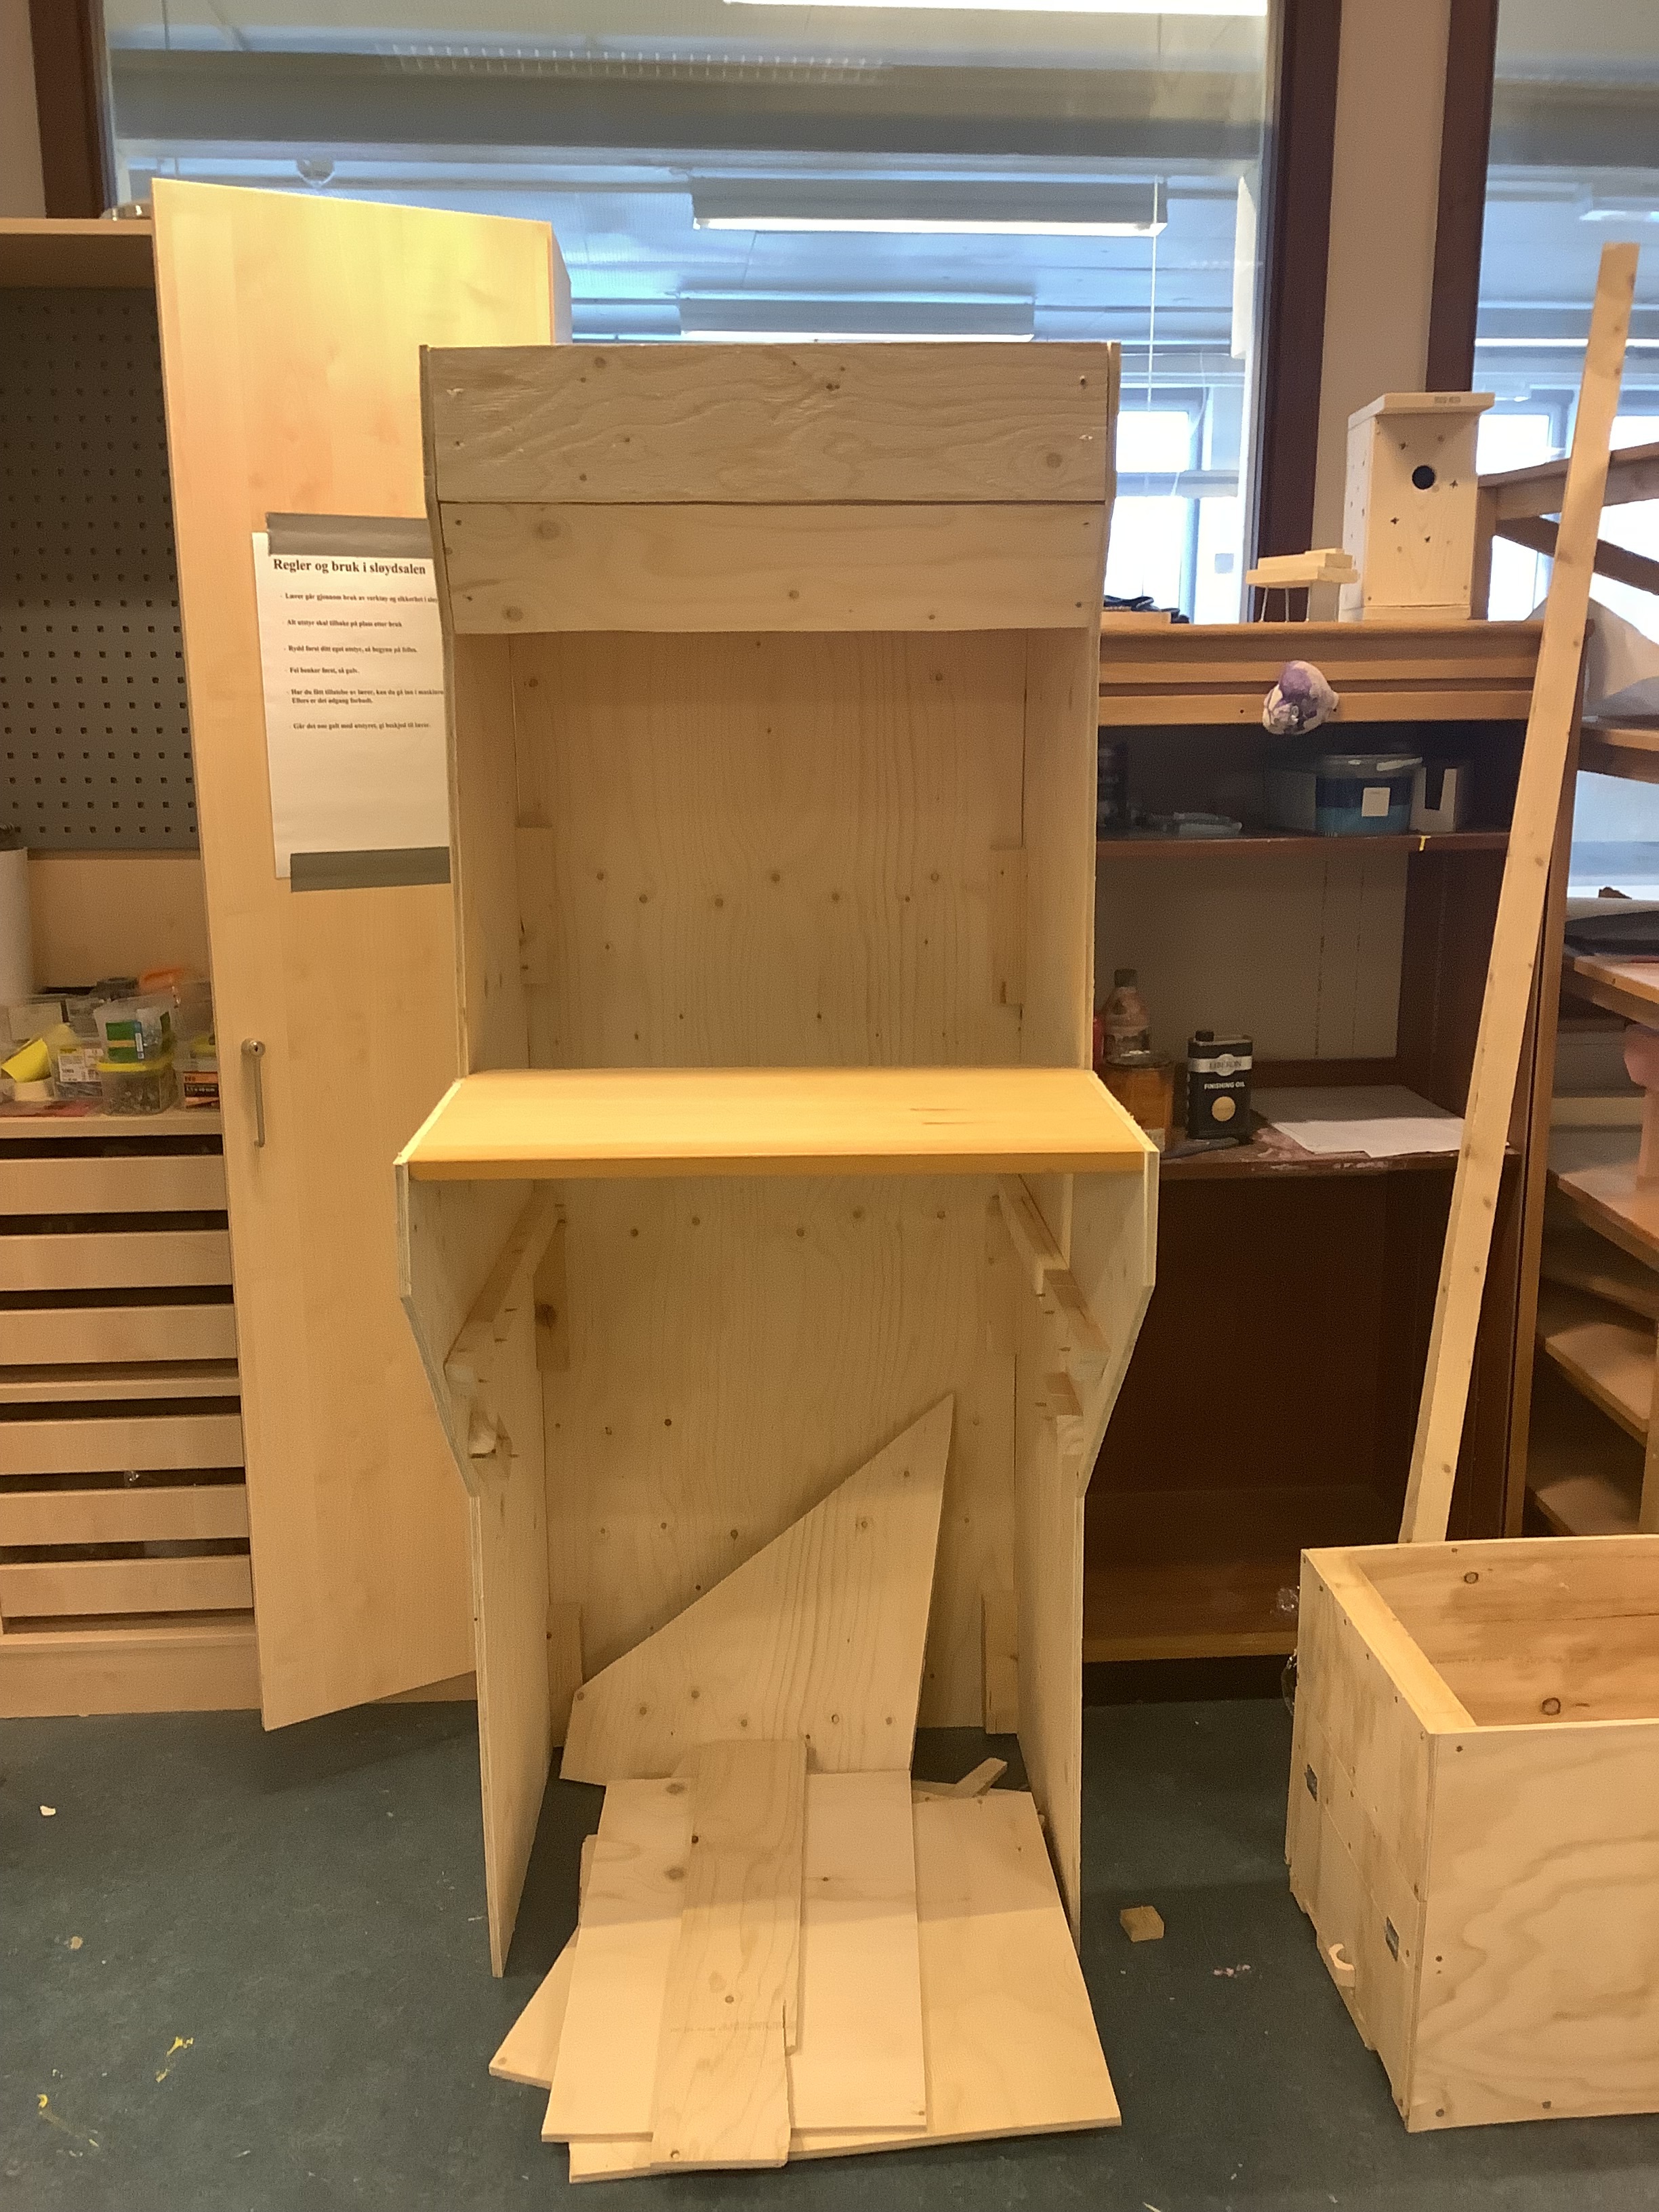
Your wooden sheets should be at least 9x2440x1220 in size. You will also need two of these sheets. I cut the two on the picture above out of one sheet. The rest is for all the other sides of the cabinet
Choose your woodtype wisely. There is a variety of different qualities regarding the wood. Personally I used plywood sheets made out of pinewood.
Awwh, lucky! I almost got to make mine out of wood, but I got woodworking at the height of the pandemic…
… so while at any other time of year the woodworking class makes entire tables and can sculpt watever they want as a final project such as a retro arcade cabinet…
… i made bridges out of popsicle sticks like this was kindergarten
YOUR DESIGN LOOKS AWESOME!!! I can’t wait to see how it turns out!!
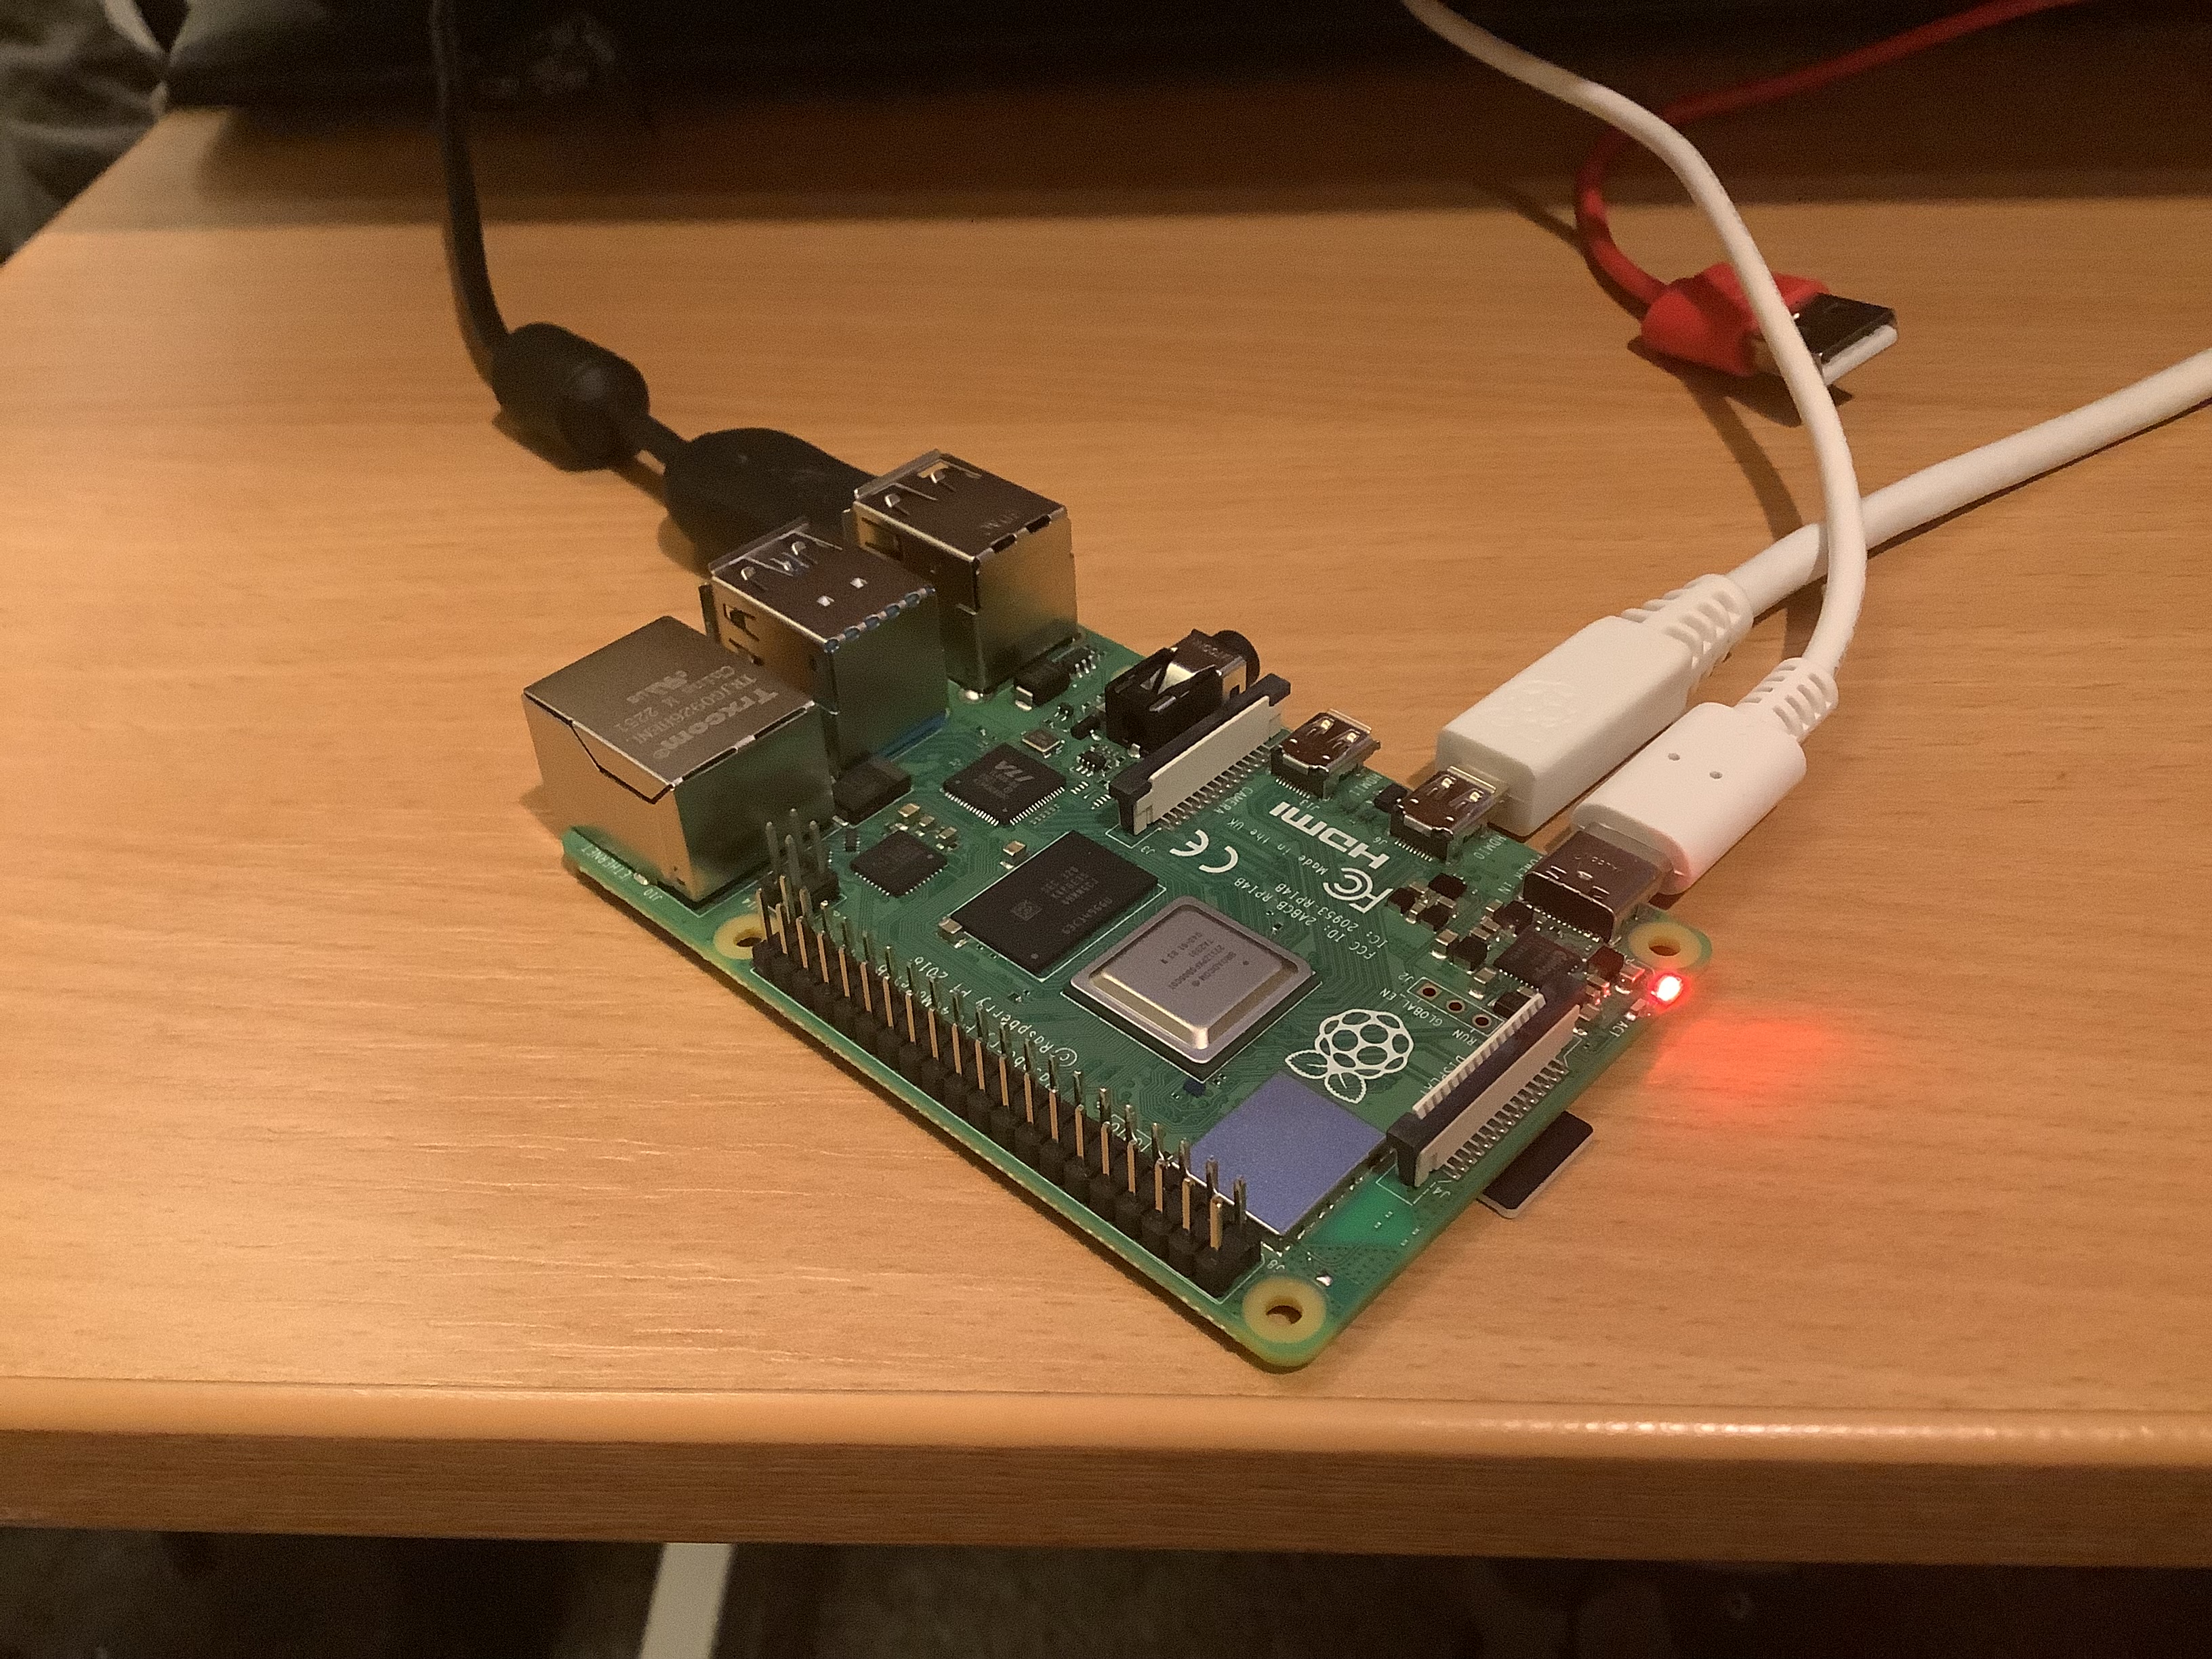
I could just use desktop mode on rpi 4. however I was actually planning to use retroarch. My uncle got me a 512 gigabyte sd card. Installed with retroarch and more games than I will ever need. (23 736!)
Nice project, @Sonicblaston! Thanks for sharing blueprints, purchasing links for buttons and joysticks, and your progress! Looking forward to seeing the final result!
You are probably already aware of this, but instead of going for the kiosk browser mode or trying to get the bootloader to work, on the Raspberry Pis, including your chosen RPi4, you could use McAirpos* to get it to run MCA games natively, also as part of RetroPie, Recalbox and Batocera together with other emulators and games well suited for your arcade cabinet:
(*Given that it still works as it should on the latest releases of these retro gaming systems. I haven’t had time to test and update the repository for a while.)
I will try to make a full guide from this later. However some things from the blurprint needs to be changed. I need to change the width of the machine to something around 72cm because of the screen I’m buying. That sadly means I have to go buy some more sheets. 60cm was a little tight on space anyways.
I have decided to make the machine with a width of 68cm.
I have now cut out the back panel of the cabinet. I have also mounted it together with both of the side panels. I cut some cubes to screw the panels together (look at picture) the cut wasn’t perfect, so I used sandpaper to sand it down. However it’s still not perfect. I decided to mount the wooden blocks to be used as support for the roof and floor of the cabinet. The cabinet is now screwed together, and is able to stand all by itself
I am going to use a few extra wooden cubes to be sure that the cabinet is strong enough.
When I am going to make the panel for the buttons, I am going to use a panel cut out from an old school desk. Because as you all probably know, you are going to hut those buttons pretty hard in the heat of the battle. That’s why I’ve decided to use a school desk since they are a lot thicker. (Forgot to take a picture of it)
I am supposed to make a log of all I that I do. However, I wasn’t supposed to make it here😅
Another thing. Tomorrow my class is going on a class quiz semifinale! They are going to sleep in the capital city However I am not going. That means I get two entire days to work on this project! That means around 10 HOURS!
I have now made the actual controller panel for the Arcade Machine. I used a school desk as the controller panel. Just to get it extra sturdy. I must say though… it is looking sick!